Apple's product pages do not animate with video, and that single fact is the key to the whole premium-scroll-animation aesthetic. Inspect an AirPods or MacBook page and you will find a <canvas> element being fed a sequence of pre-extracted image frames — a flipbook, drawn frame by frame as you scroll. No video decoder in the loop, no seeking lag, no device-to-device stutter. The technique stayed locked behind 3D-artist budgets for years because someone had to render those 120-plus photorealistic frames. That is the part AI just made nearly free.
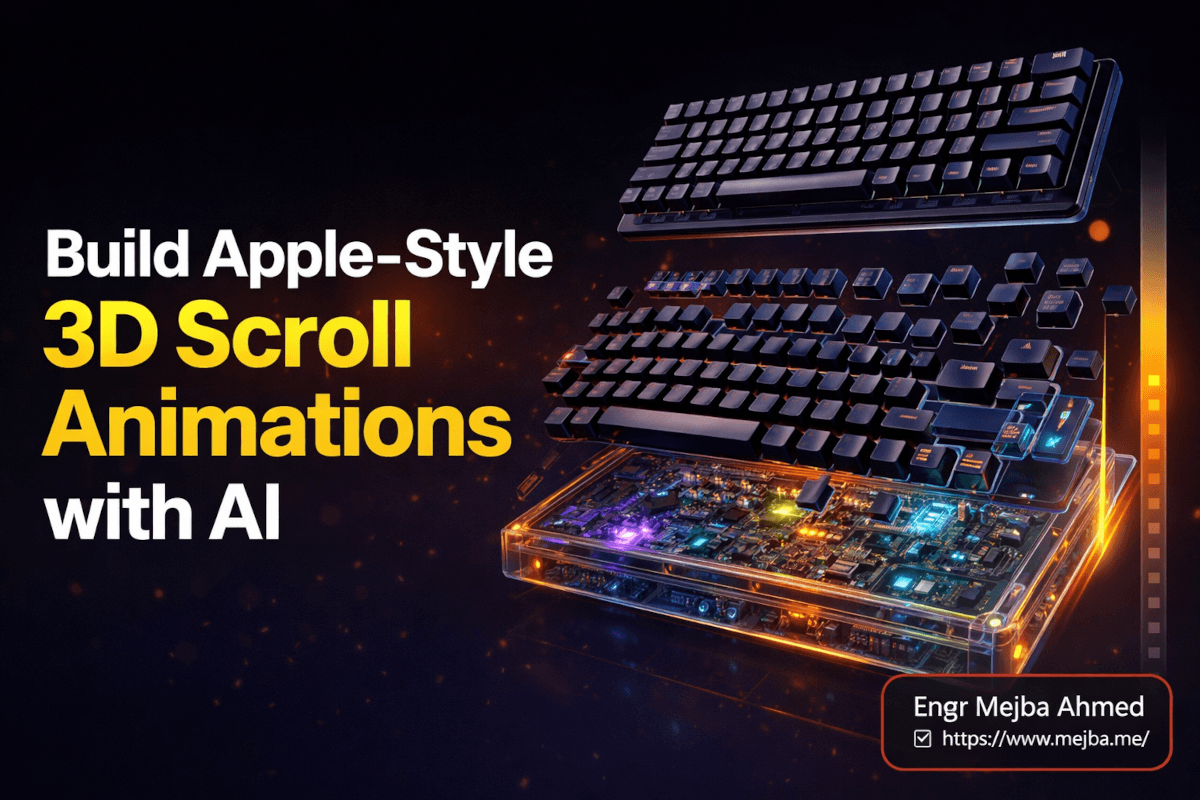
I built a full Apple-style deconstruction animation — a matte-black keyboard exploding into an X-ray view as you scroll — in about an hour using three tools in sequence: Nano Banana 2 for keyframes, Kling 3.0 for the transition video, and Claude Code for frame extraction and the scroll-driven site itself. Here is the exact pipeline, the five mistakes I made so you can skip them, and the honest performance numbers.
Why Not CSS or a Video Tag
Two default approaches, both wrong for this job. CSS scroll-driven animations (animation-timeline: scroll()) are excellent for parallax and fades, but CSS cannot render a photorealistic object deconstructing — there is no 3D model to animate. Scrubbing a <video> by setting currentTime on scroll events gets closer, but asks the browser's decoder to seek arbitrary frames in real time; the result is jerky, inconsistent across devices, and terrible on mobile Safari.
The frame-sequence approach sidesteps both: each scroll position maps to a frame number, and drawing a cached static image to canvas is effectively instant. The animation feels locked to your finger because it literally is — there is no playback engine between the scroll event and the pixels.
Step 1: Keyframes with Nano Banana 2
Nano Banana 2 — Google's Gemini 3.1 Flash Image model, launched February 26, 2026 — generates the two anchor images: the start state and the end state. I ran it through Higgsfield, the same platform I use for my YouTube video pipeline. Three properties make it right for this job: native high-resolution output (headroom above your video resolution), physics-consistent lighting between related generations, and text rendering that survives close-ups.
The starting prompt, with the one detail most people miss:
A premium mechanical keyboard, matte black finish, centered on a pure
#0F172A dark background. Studio lighting from above-right. Photorealistic
product photography. Sharp focus. No other objects — the keyboard
floating against the dark background.
That hex code is my page's background color, and specifying it is the highest-leverage line in the entire pipeline. If the generated background is even slightly off — #000000, #1a1a1a — you get a faint rectangular seam where image meets page, and the product looks pasted on instead of floating. The difference between "premium" and "amateur" lives in that seam. I learned this by generating "dark background" images first, watching the seam appear, and regenerating with the exact hex.
For the ending image, upload the start frame as a reference and describe only the delta:
The same keyboard from the reference image, now deconstructed — keys
floating above the board, internal PCB visible, transparent casing
revealing components. Same lighting. Same #0F172A background. X-ray
effect. Photorealistic.
Keep the end state physically logical — assembly, rotation, transparency, color shift. "Melts into liquid metal and reforms as a laptop" produces artifact soup in the next step.
Step 2: The Transition Video with Kling 3.0
Kling 3.0 (Kuaishou, launched February 4, 2026) generates the smooth transition between your two keyframes in image-to-video mode: start frame, end frame, and a deliberately plain prompt:
Smooth transition from assembled keyboard to deconstructed X-ray view.
Keys lift gradually, casing becomes transparent. Steady camera. Even,
unhurried motion. Studio lighting maintained.
Its physics simulation is the reason it works here — metal reflects correctly through rotation, transparency interacts with light sources believably. The 3.0 series supports clips up to 15 seconds and reaches up to 4K on its higher tiers; I generated at 1080p, and the performance section explains why that was the right call anyway. Google's Veo also handles start-and-end-frame generation if you prefer it.
Two settings decide success:
Turn prompt auto-enhance off. Enhancement rewrites your plain transition into "dramatic cinematic lighting shifts, ethereal particles, dynamic camera dolly" — gorgeous as a video, chaos as a scrubbed frame sequence. Simple prompts produce simple transitions, and simple transitions scrub beautifully.
Match the aspect ratio to your keyframes, or the model crops your carefully hex-matched images.
Generation is probabilistic; if the transition lands dirty, regenerate. Second attempts are often visibly better.
Step 3: Claude Code Turns the MP4 Into a Website
From here it is engineering, and Claude Code does nearly all of it. First, frame extraction with FFmpeg:
ffmpeg -i transition.mp4 -vf "fps=30" -c:v libwebp -quality 85 frames/frame_%04d.webp
WebP, not JPEG — at quality 85 the frames are roughly a quarter to a third smaller for identical visual quality, and across 120 frames that compounds into seconds of load time. A 4-second clip at 30fps yields 120 frames at 30-60KB each: a 5-8MB payload, manageable with pre-loading.
Then one prompt builds the site. Mine specified: Next.js and Tailwind, frames served from /public/frames/, a <canvas> renderer, scroll position mapped linearly to frame index, full pre-load with a progress indicator before the animation enables, the section pinned via position: sticky, draws inside requestAnimationFrame, background #0F172A. Claude Code generated the pre-loader (parallel Image objects, progress tracking), the scroll-to-frame mapper, the canvas renderer with resize handling, and the surrounding landing page in one pass.
One technique that consistently improves the first pass: feed Claude a markdown file of domain best practices before the build prompt — canvas dimensions set via JavaScript rather than CSS to avoid blurry scaling, scroll handling throttled through requestAnimationFrame, will-change: transform for GPU compositing, pinned-section height around 100vh × (frames ÷ 30) for natural pacing. Context injection like this is the same principle behind the design skills I run for UI work: the model already knows these facts individually, but a curated brief makes it apply all of them at once.
Scroll speed is then a one-line tune: taller pinned section, slower animation. I use roughly 200vh for simple reveals, 400vh for deconstructions worth savoring.
The Five Mistakes I Made So You Don't
- JPEG frames. First attempt: 14MB payload. Switching to WebP-85 halved it with no visible difference.
- Vague background color. "Dark background" produced
#111111on a#0F172Apage — visible seam, full regeneration. Hex codes in every prompt, always. - A 10-second video. Three hundred frames, painful pre-load, and users scrolled past out of boredom. Four seconds and 120 frames felt tighter and loaded in half the time. More frames is not better.
- Auto-enhanced prompts. One enhanced generation added camera moves that made scrubbing feel drunk. Plain prompts win.
- Full-width canvas on a big monitor. 1080p frames stretched to 4K look like a zoomed JPEG. Constraining to
max-width: 1080pxwith auto margins fixed it — and honestly looks more premium, giving the product breathing room the way Apple's own layouts do. This is also why I did not chase 4K generation: quadruple the payload for an edge case the constrained layout handles better.
Each mistake cost 15-30 minutes. Skipping them roughly halves the build.
The Honest Numbers
From Lighthouse and WebPageTest on my deployed page: 120 WebP frames totaled 6.4MB; initial load 0.8s on a 50Mbps connection with frames pre-loading in another 2.1s (4.8s on throttled 3G); Lighthouse 91 desktop, 78 mobile; total blocking time 12ms since loading is async off the main thread.
The mobile 78 is the trade-off to respect. For mobile-heavy audiences, serve 60 frames (every other one) below a breakpoint, or fall back to a simple CSS animation on slow connections. For desktop-focused product showcases — where this technique belongs — the performance is excellent.
Versus the traditional route (model in Blender, light, animate, render, then hand-build the canvas code — 11 to 23 hours of skilled work), the AI pipeline runs 50 to 95 minutes end to end. The trade is control: you direct the start, the end, and the prompt; the model owns the in-betweens. For landing pages and launches that trade is overwhelmingly worth it. For frame-by-frame brand sign-off, hire the 3D artist.
Two keyframes with your site's exact background hex in both prompts is the cheapest possible test of whether this suits your product, and the same tools go further in a 3D animated site built with Google AI Studio and an interactive image-reveal build with Fable 5.
Product pages carrying an animation like this one are part of the front-end work I take on for clients — hero, pre-loader, and performance budget delivered together — and the formats are listed on my services page.