Einleitung
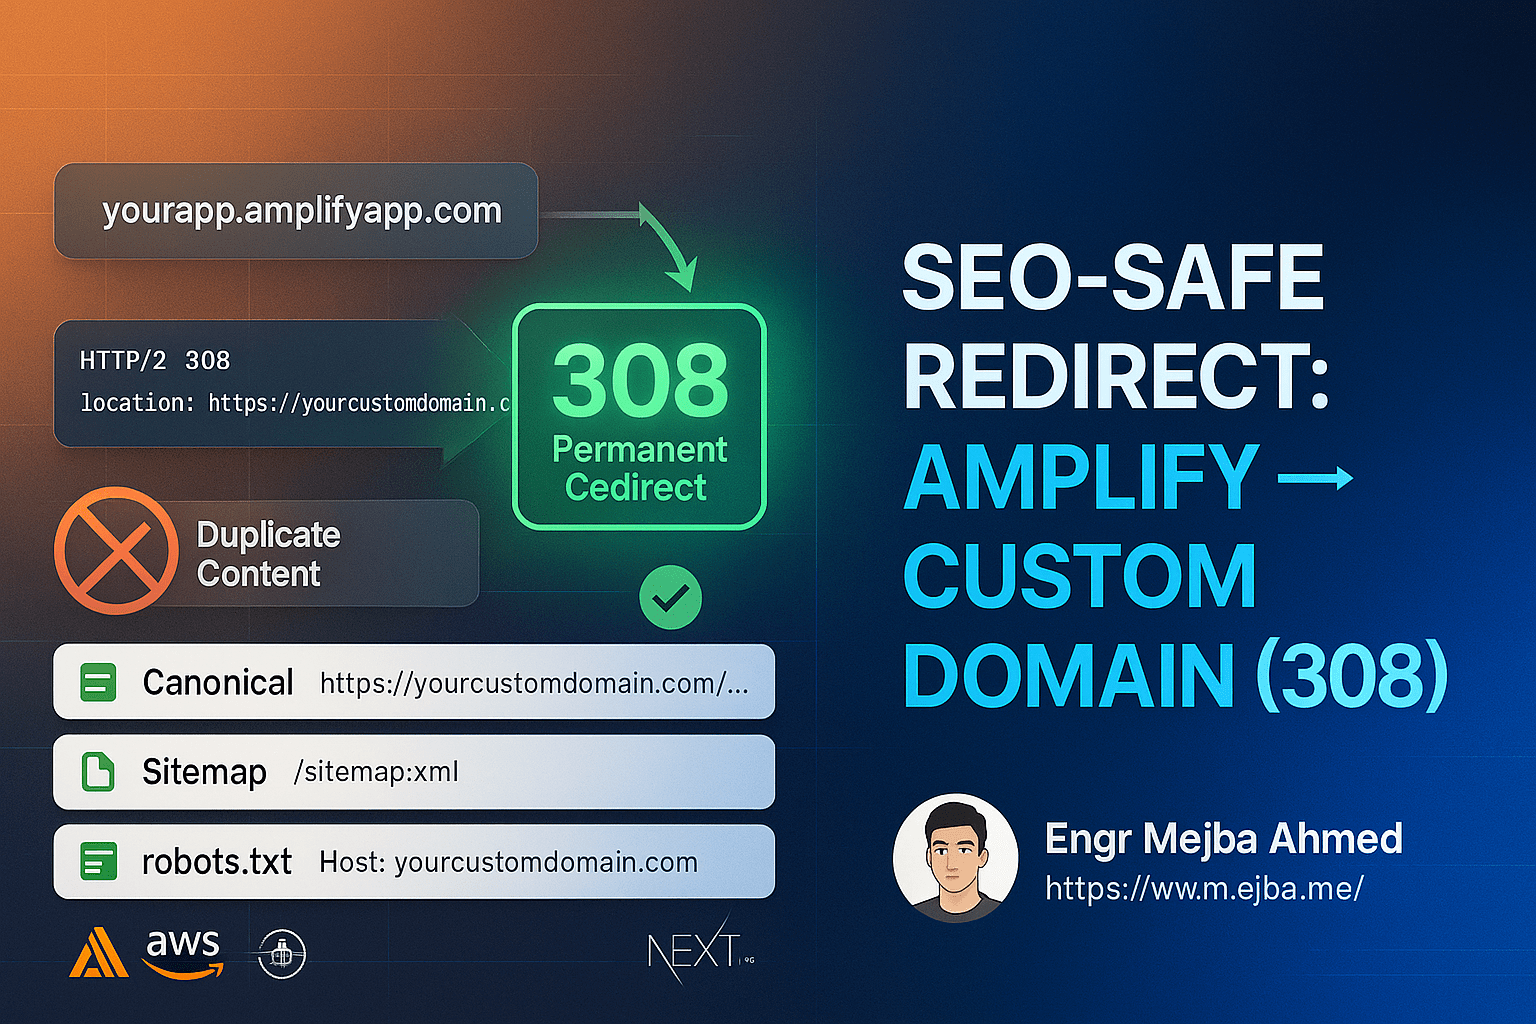
If you’ve ever deployed a Laravel app in production, you’ve probably run into this frustrating issue:
alles funktioniert perfekt während der Entwicklung, aber sobald du deine SSH-Sitzung schließt oder den Server neustartest, stoppt dein queue:work Prozess.
Und wenn das passiert, stoppen Hintergrundaufgaben — wie das Senden von E-Mails, Importieren von Dateien oder Verarbeiten von Zahlungen — plötzlich.
That’s where Supervisor comes in.
Supervisor is a battle-tested process control system that ensures your Laravel queues keep running 24/7, even after reboots, crashes, or code updates. It’s one of those small, behind-the-scenes tools that separates a hobby project from a production-grade application.
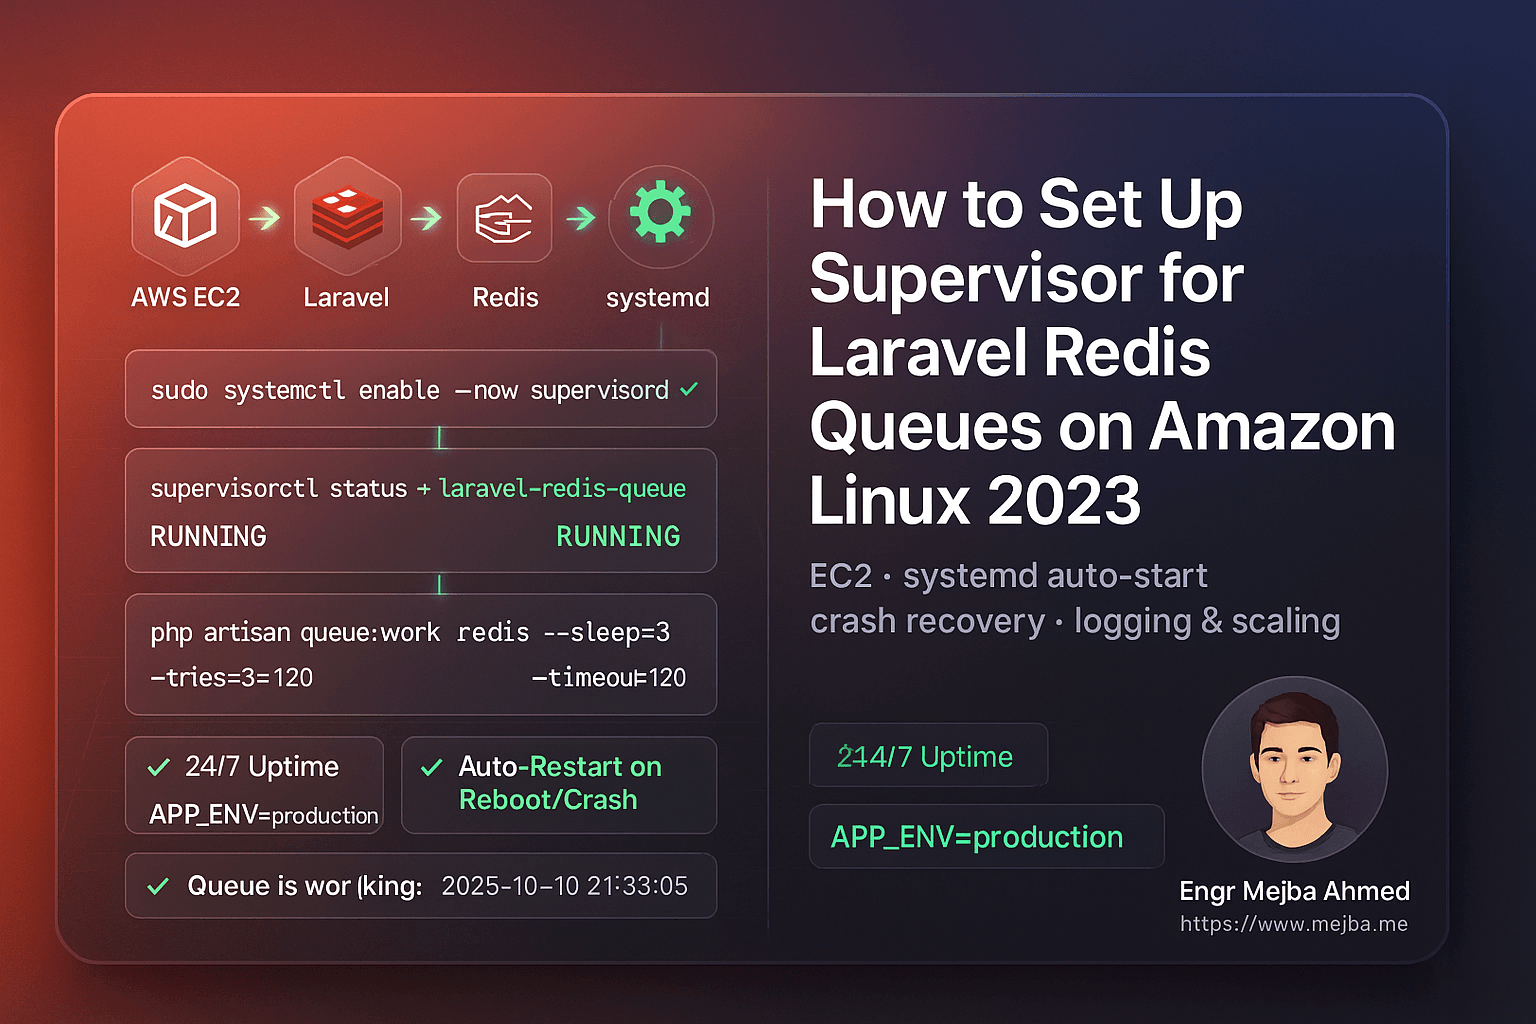
In this 2025 step-by-step guide, you’ll learn exactly how to:
- Install and configure Supervisor on Amazon Linux 2023 (EC2)
- Set up Laravel to manage Redis queue workers automatically
- Keep jobs running after code deploys or server reboots
- Use systemd for stable startup and automatic recovery
- Add logging, scaling, and security optimizations for production
Let’s build a bulletproof queue system that never quits.
1. Why Laravel Redis Queues Need Supervisor
Laravel’s queue system is brilliant—it lets you offload heavy or time-consuming tasks to a background process. Whether you’re sending hundreds of emails, syncing large data sets, or processing imported files, queues keep your app fast and responsive.
But there’s a problem: The command you use to run queues—
php artisan queue:work
— läuft nur solange deine Terminalsitzung offen ist. Sobald du deine SSH-Verbindung schließt oder neuen Code deployest, stoppt der Worker.
In production, that’s unacceptable. You can’t afford your jobs to silently stop.
Lerne Supervisor Kennen
Supervisor ist ein leichtgewichtiger Prozessmanager, geschrieben in Python. Er:
- Überwacht und startet Queue Worker automatisch neu
- Stellt sicher, dass sie beim Booten starten
- Führt Logs über Worker-Aktivität und Fehler
- Lässt dich mehrere Worker-Prozesse einfach skalieren
- Provides simple control via
supervisorctl
When configured properly, Supervisor gives you peace of mind—your Redis queues will always run in the background, even if you never log into the server again.
2. Voraussetzungen
Before diving in, make sure you have:
- Amazon Linux 2023 (EC2 instance)
- PHP 8.2+ and Composer installed
- Redis and
phpredisorpredisextension - A working Laravel 10 or 11 application
- SSH access as
ec2-userwithsudoprivileges
And confirm that your .env is correctly set up for Redis:
QUEUE_CONNECTION=redis
CACHE_DRIVER=redis
SESSION_DRIVER=redis
Once these are ready, let’s install Supervisor.
3. Supervisor auf Amazon Linux 2023 Installieren
Unlike Ubuntu, Amazon Linux 2023 doesn’t include Supervisor in its default repositories.
We’ll install it manually using Python’s package manager (pip3).
Schritt 1: pip und Supervisor Installieren
sudo dnf install -y python3-pip
sudo pip3 install supervisor
Schritt 2: Supervisor-Verzeichnisse Erstellen
sudo mkdir -p /etc/supervisor/conf.d
sudo echo_supervisord_conf | sudo tee /etc/supervisord.conf > /dev/null
Schritt 3: Zusätzliche Konfigurationsdateien Einbinden
Öffne die Hauptkonfigurationsdatei:
sudo nano /etc/supervisord.conf
Füge am Ende hinzu:
[include]
files = /etc/supervisor/conf.d/*.conf
Speichern und beenden (Ctrl + O, Enter, Ctrl + X).
4. Supervisor mit systemd Konfigurieren
To make sure Supervisor starts automatically when your EC2 instance boots, we’ll wire it to systemd.
Schritt 1: Die systemd Unit-Datei Erstellen
sudo tee /etc/systemd/system/supervisord.service > /dev/null <<'SERVICE'
[Unit]
Description=Supervisor daemon
After=network.target

[Service]
ExecStart=/usr/local/bin/supervisord -n -c /etc/supervisord.conf
ExecStop=/usr/local/bin/supervisorctl shutdown
ExecReload=/usr/local/bin/supervisorctl reload
Restart=always
User=root

[Install]
WantedBy=multi-user.target
SERVICE
Schritt 2: Supervisor Aktivieren und Starten
sudo systemctl daemon-reload
sudo systemctl enable --now supervisord
sudo systemctl status supervisord
Du solltest sehen:
Active: active (running)
Jetzt startet Supervisor automatisch bei jedem Server-Neustart.
5. Laravel Queue Worker Einrichten
We’ll configure Supervisor to manage your Laravel queue workers.
Schritt 1: Deinen PHP-Pfad Finden
which php
You’ll likely get /usr/bin/php.
Verwende diesen Pfad in deiner Konfigurationsdatei.
Schritt 2: Deine Worker-Konfiguration Erstellen
sudo tee /etc/supervisor/conf.d/laravel-redis-queues.conf > /dev/null <<'CONF'
[program:laravel-redis-queue]
directory=/var/www/writeflow-ai
command=/usr/bin/php artisan queue:work redis --sleep=3 --tries=3 --timeout=120 --backoff=3 --verbose
autostart=true
autorestart=true
user=ec2-user
redirect_stderr=true
stdout_logfile=/var/www/writeflow-ai/storage/logs/queue-worker.log
stdout_logfile_maxbytes=20MB
stdout_logfile_backups=5
environment=APP_ENV="production",HOME="/home/ec2-user",PATH="/usr/local/bin:/usr/bin:/bin"
CONF
Schritt 3: Supervisor Neu Laden
sudo /usr/local/bin/supervisorctl reread
sudo /usr/local/bin/supervisorctl update
sudo /usr/local/bin/supervisorctl status
If everything’s configured correctly, you’ll see:
laravel-redis-queue RUNNING pid 1234, uptime 0:00:03
6. Dein Queue-Setup Testen
Let’s make sure your queues actually run.
Schritt 1: Einen Test-Job Erstellen
php artisan make:job TestQueueJob
Öffne app/Jobs/TestQueueJob.php und ändere die handle() Methode:
public function handle()
{
    \Log::info('✅ Queue is working fine: '.now());
}
Schritt 2: Sende Ihn Ab
php artisan tinker --execute="App\\Jobs\\TestQueueJob::dispatch();"
Schritt 3: Prüfe die Logs
tail -f storage/logs/laravel.log
Du solltest sehen:
[2025-10-10 21:33:05] production.INFO: ✅ Queue is working fine: 2025-10-10 21:33:05
Herzlichen Glückwunsch — deine Laravel Redis Queue ist jetzt vollständig überwacht und produktionsreif.
7. Worker Automatisch Nach Code-Deployments Neustarten
Jedes Mal wenn du neuen Code deployest oder deine .env Datei änderst, musst du deine Queue Worker neustarten, um die neuesten Änderungen zu laden.
Anstatt lange Befehle auszuführen, erstelle ein Hilfsskript:
sudo tee /usr/local/bin/restart-workers.sh >/dev/null <<'SH'
#!/bin/bash
echo "🔄 Restarting Laravel queue workers..."
/usr/local/bin/supervisorctl reread
/usr/local/bin/supervisorctl update
/usr/local/bin/supervisorctl restart all
echo "✅ All workers restarted successfully."
SH

sudo chmod +x /usr/local/bin/restart-workers.sh
Nach jedem Deployment führe einfach aus:
sudo /usr/local/bin/restart-workers.sh
Einfach, sauber und sicher.
8. Logs Handhabbar Halten mit Log-Rotation
Supervisor erstellt separate Log-Dateien für jeden Worker. Im Laufe der Zeit können diese groß werden. Du kannst die Bereinigung mit logrotate automatisieren.
sudo tee /etc/logrotate.d/laravel-supervisor >/dev/null <<'ROT'
/var/www/writeflow-ai/storage/logs/queue-worker.log {
  weekly
  rotate 5
  missingok
  notifempty
  copytruncate
  compress
}
ROT
Dies rotiert Logs wöchentlich, behält 5 Backups und komprimiert alte Dateien.
9. Queue Worker Skalieren
Mehr Traffic oder sich stapelnde Hintergrundaufgaben? Skaliere einfach.
Bearbeite deine Supervisor-Konfiguration:
[program:laravel-redis-queue]
numprocs=2
process_name=%(program_name)s_%(process_num)02d
Dann:
sudo /usr/local/bin/supervisorctl reread
sudo /usr/local/bin/supervisorctl update
sudo /usr/local/bin/supervisorctl status
Now you’ll have two concurrent workers processing jobs simultaneously.
10. Alles Nach einem Neustart Verifizieren
Starte deine EC2 Instanz neu, um das automatische Startverhalten zu bestätigen:
sudo reboot
Sobald die Instanz wieder online ist:
sudo /usr/local/bin/supervisorctl status
Deine Queue sollte automatisch laufen — ohne dass du etwas anfassen musst.
11. Häufige Fehler & Lösungen
| Problem | Ursache | Lösung |
|---|---|---|
BACKOFF oder FATAL |
Falscher PHP-Pfad | Führe which php aus und update Config |
Permission denied |
Wrong file owner | sudo chown -R ec2-user:ec2-user storage |
queue:work not processing |
Redis not running or wrong env vars | sudo systemctl restart redis |
| No logs | Wrong log file path | Check stdout_logfile in config |
Jobs stuck in failed_jobs |
Exceptions or timeout too short | Increase --timeout or inspect logs |
Quick Takeaways
✅ Use Supervisor to ensure your Laravel queues run continuously.
✅ Install via pip3 on Amazon Linux 2023 (not yum).
✅ Link Supervisor to systemd so it auto-starts on reboot.
✅ Add a restart script for clean deployments.
✅ Implement log rotation to prevent storage bloat.
✅ Scale workers easily with numprocs.
✅ Test with a sample job to confirm everything works.
Fazit
When it comes to Laravel queue reliability, Supervisor is non-negotiable. Without it, your background jobs can silently stop, leading to failed emails, unprocessed tasks, or delayed user experiences.
By setting up Supervisor on Amazon Linux 2023, you’ve built a robust, self-healing background process system powered by Redis and systemd.
Your queues now:
- Run automatically after deploys or reboots
- Restart on crashes
- Scale seamlessly
- Log every event
That’s the kind of stability every serious Laravel application deserves.
Call to Action
If this guide helped, share it with your DevOps or Laravel team.
Need expert help right now?
- ✅ Hire me on Fiverr: Laravel/AWS Optimization & DevOps
- 🏢 Or work with our team at Ramlit Limited for enterprise-grade Laravel, AI, and cloud solutions.
Let’s make your queues bulletproof and your deployments effortless.
FAQs
1. Why use Supervisor instead of a cron job?
Because cron runs on fixed intervals, not continuously. Supervisor monitors queue:work in real-time and restarts it instantly on crash or reboot.
2. Can I use this setup for SQS or Database queues?
Absolutely. Just replace redis in the command with your queue driver (e.g., database or sqs).
3. How do I stop all queue workers?
Run:
sudo /usr/local/bin/supervisorctl stop all
4. Was passiert, wenn ich neuen Code deploye, ohne Worker neu zu starten?
They’ll keep running old code in memory. Always run supervisorctl restart all after a deploy.
5. Ist dieses Setup sicher für die Produktion?
Yes. It’s clean, secure, and aligned with modern Amazon Linux 2023 practices.
Schlusswort: Deine Laravel Redis Queues sind jetzt unaufhaltsam. Keine Ausfallzeiten mehr. Keine manuellen Neustarts mehr. Einfach reine, produktionsreife Performance — angetrieben von Supervisor.