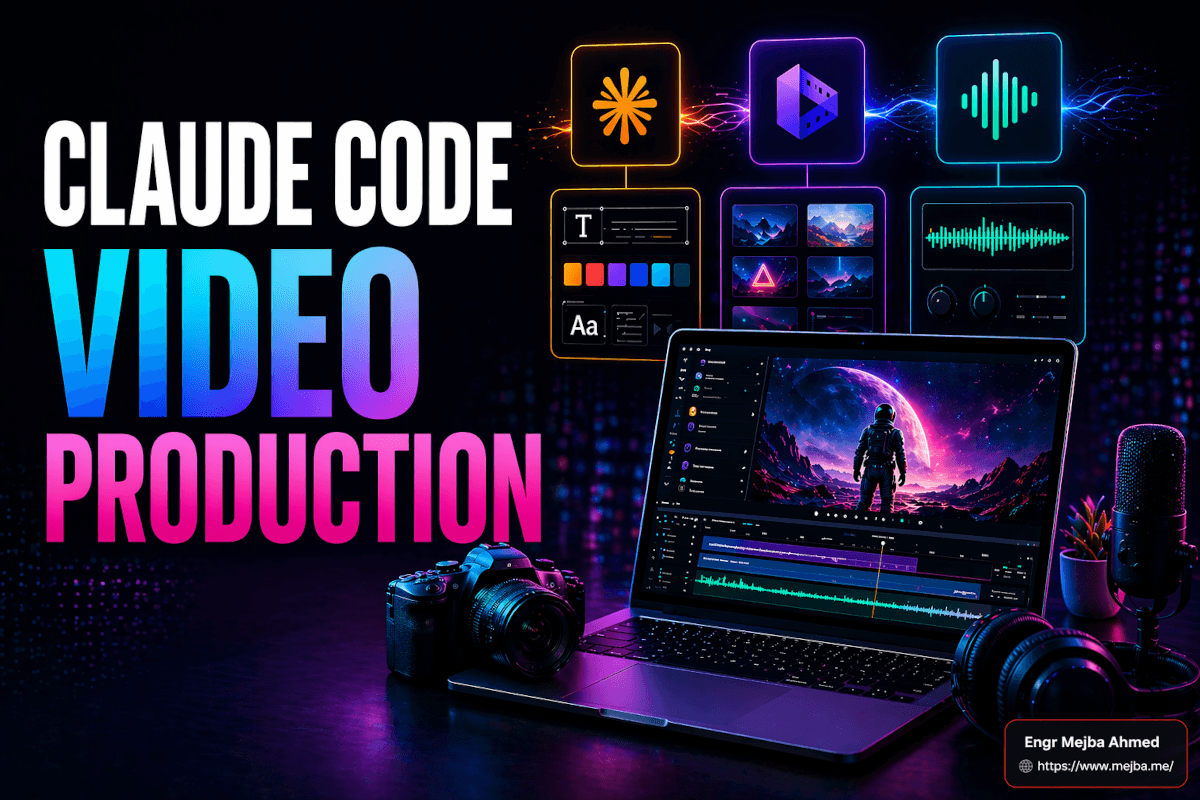
Claude Code Video Production: The 3-Tool Stack I Use
I almost closed the tab on Jack Roberts' walkthrough twice.
The thumbnail looked like every other "I automated my video pipeline with AI" video that has cluttered my feed since HeyGen open-sourced HyperFrames on April 17, 2026. I was three minutes in, skeptical, when he did something I had not seen anyone else do in a video demo this year — he stopped treating Claude Code as a single tool and started treating it as the orchestration layer for an entire production system. Design in one place. Animation in another. Audio in a third. All governed by skills that he wrote once and reused forever.
That reframe is what made me stop scrolling, open a new terminal window, and build my own version of it. And it is what this post is about — not a tool review, not a breathless launch day rehash, but the actual three-tool Claude Code video production stack I now run, what each layer does well, where each one quietly falls apart, and the uncomfortable parts Jack glossed over that I had to learn on my own machine.
If you have spent any time watching your own cursor slowly drag a keyframe into place at 11 PM on a Sunday, you already know why this matters. The question is not whether AI can edit video. That debate is over. The question is how you architect the pieces so the edits are consistent, the branding is protected, and your future self does not have to reinvent the same lower-third every Tuesday.
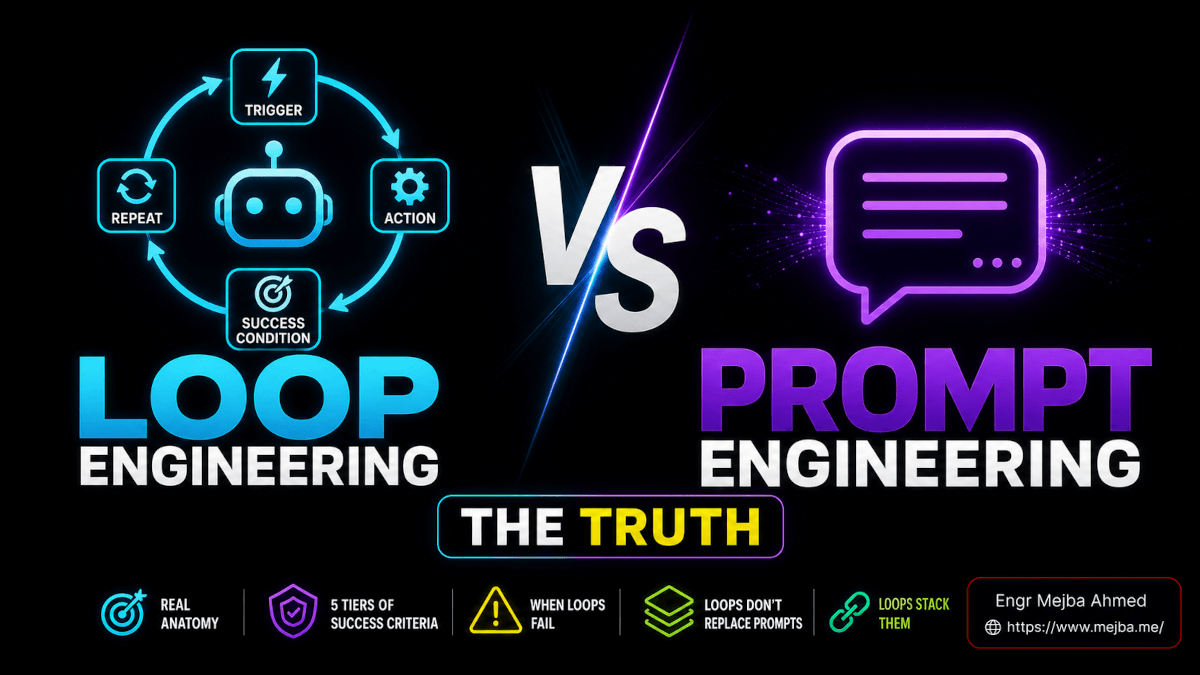
Why "one tool does everything" breaks down
Every six months, some new product promises a single prompt that turns a raw recording into a finished video. Some of them even work — for the demo. Then you try it on your actual footage, with your actual brand, and the output looks like it was made by someone who has never met you.
The reason is boring and structural. Video production is not one job. It is at least three jobs that happen to share a timeline: visual system design (what your brand looks like in motion), composition and animation (what happens on screen, second by second), and audio conditioning (how the voice track sounds when the viewer presses play). Each of those jobs has its own tools, its own failure modes, and its own quality ceiling. Collapsing them into one prompt is why so much AI-edited video looks cheap in the same specific way.
Jack's framing was the first one I had seen that treated each job as a first-class citizen. Claude Code Design System for the visual language. HyperFrames for the composition and animation layer. Auphonic for programmatic audio cleanup. Claude Code itself as the conductor — not the orchestra, the conductor. That distinction matters more than it sounds, and it is the single biggest reason my output quality jumped when I stopped trying to one-prompt my way through a video.
Here is what the stack looks like in practice, and what each layer actually earns its place doing.
Layer 1: Claude Code Design System — the brand that travels everywhere
The idea of a "design system" is usually associated with web and product work. Token files, component libraries, color palettes defined in a Storybook somewhere. What Anthropic shipped with the Claude Design product on April 16, 2026 — alongside the Opus 4.7 model release — was a design system surface that extends naturally into animated graphics and multimedia, not just static UI.
The version I use lives inside Claude Code via the Claude Design desktop app that launched on the same day. Here is the workflow I run for every new content cluster:
- Define the content style in plain English. Educational and minimalist. Sketch-style accents where helpful. No stock photography. One screen, one point, simple visuals. That spec becomes the north star for every later decision.
- Upload the brand primitives. Logo mark, logo wordmark, icon set, two or three reference screenshots of finished pieces I am happy with. Claude Design reads these as visual anchors, not just assets.
- Set the animation preferences. Short duration per beat — five to twenty seconds. Minimal on-screen text so the voiceover carries the load. Slow easing on entrances, fast easing on exits. A specific color transition I like for emphasis moments.
- Export the system as a ZIP or PDF. This is the part that surprised me. The exported system is not just a static style guide. It is a portable specification I can hand to another tool — or another agent — and have them render new assets that stay on-brand.
The first time I tested this, I had Claude generate three short animations — a title card, a mid-roll callout, and an end card — from the exported system alone, with no additional prompting beyond "produce these three beats for a sixty-second explainer." All three came back visually coherent with each other. Not identical. Coherent. That is the actual superpower. Without a shared design system, AI-generated animations look like they were made by three different people on three different days, because functionally, they were. With the system in place, they read as one voice.
The part Jack did not dwell on, and that cost me about two hours the first time, is that the design system you define at the start is going to feel wrong after the first real project. That is fine. Expected, even. The system is a living spec, not a contract. Every time I ship a piece I like, I go back and note what the system did not account for — a specific shadow treatment, a spacing rule, a character animation I want to keep — and I update the export before the next run. After about four projects, the system stops drifting and starts accelerating.
If you have read my breakdown of how Claude Code automates design system workflows with Figma, this is the same philosophy extended into motion. The design system is where your brand becomes reusable. Without it, you are starting from zero every single time.
Layer 2: HyperFrames — writing video like you write a web page
HyperFrames is the layer most people are talking about in April 2026, and for once the excitement is earned. It is an open-source video rendering framework that HeyGen shipped on April 17, 2026, under the Apache 2.0 license. The pitch is deceptively simple — write HTML, CSS, and JavaScript. Render video. Built for AI agents.
What that actually means when you install it is this. You run one command — npx skills add heygen-com/hyperframes — and your Claude Code instance gains three new slash commands: /hyperframes for authoring compositions, /hyperframes-cli for command-line operations, and /gsap for animation help. From that point forward, you are not dragging clips around in a timeline. You are describing what you want in plain language, and Claude Code is writing HTML/CSS/JavaScript scenes that get rendered frame by frame into an MP4, MOV, or WebM.
The first time this clicked for me was on a simple test — a talking-head clip where I wanted a lower-third name tag, the kind every YouTuber has. Normally that is a five-minute job in a timeline editor if I am fast, and the fifth minute is always me squinting at font weights. In HyperFrames, I prompted Claude Code with something close to "add a lower-third tag that reads 'Mejba Ahmed — Software Engineer' in the lower-left, aligned with my design system typography, slide in from the left at 0.5 seconds, hold for 4 seconds, slide out." Claude Code wrote a composition that imported the design system tokens, placed the text with the correct weight, and registered a GSAP timeline to handle the entrance and exit. One render later, I had the overlay. Total time from prompt to MP4: about ninety seconds.
Then I pushed it. I asked for the same clip with captions in a custom style — text size 48px, brand coral color, dropshadow to improve legibility, synced to an SRT file I pasted in. Same pattern. Claude Code generated the composition, I previewed it with npx hyperframes preview, adjusted the shadow offset by one prompt, and rendered.
Then I asked for a version with background animations behind the captions — subtle animated blobs in the brand gradient, moving slowly so they did not compete with the speaker. This is the point where most prompt-driven tools start hallucinating. HyperFrames did not, because of one architectural decision that I think deserves more attention than it has gotten: the framework uses what they call a Frame Adapter pattern, bringing your own animation runtime — GSAP, Lottie, CSS, or Three.js. GSAP timelines must be created with { paused: true } and registered on window.__timelines, so the renderer knows when each frame is supposed to show. That constraint is what makes the output deterministic instead of drifting. Every render is pixel-identical to every other render of the same composition. That is non-negotiable for brand work.
A few caveats I ran into that nobody mentions in the launch videos:
- Resolution ceiling. Renders cap at 1080p. If your delivery spec is 4K, this is not your tool yet. For social-first content (TikTok, Reels, Shorts, LinkedIn native), 1080p is still the right target, so this is only a blocker for broadcast or cinema work.
- Local execution. HyperFrames runs locally, which is great for privacy and control and not paying a per-render fee, but it also means your machine is doing the rendering work. I do not have verified numbers on hardware requirements for longer or more complex renders, so I am flagging this honestly: test with your own hardware before you commit to a long pipeline. A one-minute render on my machine completes quickly. I have not stress-tested a ten-minute 1080p render with heavy animation.
- Audio is the weak point out of the box. HyperFrames is a video framework, not an audio framework. The audio handling is functional but not opinionated. If you want your voice track to sound like it belongs in the video, you need the third layer of this stack.
For the full technical breakdown of the video side of this pipeline, my earlier post on building a video editing workflow with Claude Code goes deeper into the Remotion and Whisper side of things. HyperFrames occupies a slightly different niche — it is more opinionated about motion graphics specifically, where Remotion is more general-purpose.
Layer 3: Auphonic — the audio fix nobody sees but everybody hears
This is the layer I almost skipped when I first set up the stack, and it is the one that ended up mattering most. If you take one thing away from this post, take this: viewers forgive mediocre visuals. They do not forgive bad audio. A video with clean audio and amateur visuals feels like a scrappy indie documentary. A video with great visuals and muddy, uneven audio feels unprofessional, full stop. The asymmetry is real and it is ruthless.
Auphonic is a service that has existed for years, quietly doing one job well — automatic audio post-production. Loudness normalization, leveling, noise reduction, filtering, speech recognition. What made it click for this stack is that their REST API, which has full OpenAPI 3.0.3 coverage as of the 2026 update, makes the whole service callable from a script or an agent. I wired it into Claude Code so that after HyperFrames produces the rendered MP4, a second skill pulls the audio, routes it through Auphonic with a saved preset, and replaces the track in the final deliverable.
My Auphonic preset is tuned for voice-over work — loudness target of -16 LUFS for web delivery, a moderate noise reduction setting that cleans room tone without making the voice sound underwater, and a very light compressor to even out my natural tendency to trail off at the end of sentences. I saved it as a named preset called "voiceover-web-16," which matters because the 2026 API update lets you reference presets by name instead of the UUID approach that used to be the only option. That one change is what makes the skill portable — I can install it on a fresh machine and it just works, as long as my Auphonic account has the preset saved.
The API has two modes. The Simple API is a single multipart HTTP request — upload the file, set metadata, reference a preset, start the production. That is what I use for the vast majority of calls. The JSON API is more granular and is what you want if you need detailed format control or multiple outgoing services. For my pipeline, Simple API covers everything I need.
There is also an Auphonic CLI that covers the full production lifecycle from creating and processing productions to downloading results. I do not use it directly — Claude Code calls the API via a skill — but if you prefer a shell-first workflow, it is a cleaner entry point than a raw curl call.
The result is that my voice track in the final MP4 sounds consistent across every video I ship. Not "professionally mixed at a studio" consistent — I am being honest, there is still a ceiling to what any automated tool can do — but consistent enough that a viewer does not get pulled out of the content because one week my mic was hotter than another week. That is the bar. Invisible quality.
The skills are the actual moat
Here is the part that took me the longest to understand, and it is the part that converted me from skeptic to believer.
The tools are not the leverage. The tools are commodities. HyperFrames is open source. Claude Design is available to anyone with a Claude subscription. Auphonic is a service with a public API. None of them are hard to sign up for. None of them are hard to install.
The leverage is the skill you write once and use forever.
When I shipped my first Claude Code video production pipeline, I spent about four hours on the prompts, the design system export, the HyperFrames composition, and the Auphonic preset. The second video took two hours. The third took forty minutes. The fifth took about fifteen. The reason is that every step I got right once, I wrapped in a Claude Code skill — a reusable template that captures the same style and the same animation logic and hands it to the agent for the next project.
If you have read my post on why Claude Code skills are the real leverage point, this is the production-pipeline version of that argument. The skill is not the tool. The skill is your compressed judgment. The first time you use it, you are paying tuition. Every time after that, you are collecting interest.
My current video-production skill library looks like this:
brand-motion-system— loads the exported design system and applies it as a constraint to any HyperFrames compositionlower-third-standard— creates the lower-third overlay I use across 80% of my clips, tuned for my brandcaption-sync-srt— takes an SRT file and renders branded captions in the HyperFrames compositionaudio-cleanup-voiceover— pulls the audio from a rendered MP4, routes it through Auphonic with the "voiceover-web-16" preset, and replaces the trackthumbnail-from-video— extracts a frame at a specified timestamp and generates two or three thumbnail variants for platform testing
Each skill is maybe forty lines of instruction plus a handful of examples. None of them took long to write. All of them save me time on every single video I ship. That is the real output of this stack — not the individual videos, but the compounding asset of the skills themselves.
What I got wrong the first time
I want to be honest about the mistakes because the "everything is frictionless" version of AI video production is the version that convinces you to build a pipeline you will abandon in a month. Here is what actually tripped me up.
I started too big. My first attempt was a three-minute explainer with five animated segments, custom transitions, and a full Auphonic pipeline. It took me a full afternoon to debug because every failure compounded across layers. When you are learning a new stack, ship a fifteen-second clip first. Get the full pipeline working end to end on a trivial asset. Only then do you scale up.
I overprompted HyperFrames. The first compositions I asked for were too elaborate — three simultaneous animations, complex easing, nested timelines. Claude Code handled them technically, but the output was busy and hard to read. The practical rule I settled on: one screen, one point, one primary animation. That is the rule Jack emphasized and I ignored until I watched my own output and realized he was right.
I treated Opus 4.7 as always the correct model. Opus 4.7 is a significant model. It can freeze or loop on heavy loads, especially when the composition is complex and the context window is full. For the heavy lifting of writing a new composition from scratch, I still use Opus 4.7 because the quality of the generated animation logic is visibly better. For iterative editing work — "move this text five pixels left," "change the color to the brand secondary," "hold for one more second" — a lighter model is faster and cheaper and produces identical output. I am deliberately not printing exact token limits for Opus 4.7 because I have not verified them against Anthropic's current documentation, and I would rather be honest about the limit of my knowledge than invent numbers. The pattern that works is: heavy creative work, use Opus 4.7. Small precision edits, use Opus 4.6 or Sonnet.
I skipped the preview step. HyperFrames ships with npx hyperframes preview, which gives you a browser-based preview with live reload. For a while I was rendering straight to MP4 on every iteration, which is fast for ten-second clips and excruciating for ninety-second ones. Preview first. Render second. That one habit saved me hours.
The honest comparison — what this stack does not do
I want to name the limitations clearly because I keep seeing posts that frame this kind of pipeline as a replacement for traditional editing. It is not, and pretending otherwise helps no one.
This stack is excellent at: short-form educational content, social video, talking-head overlays and captions, promo videos, code walkthroughs, PDF animations, and kinetic text pieces. The common thread is that these are content types where the visual language is programmatic — the elements are templatable, the style is repeatable, and the edits are describable in plain English.
This stack is not a good fit for: cinematic narrative work where timing is emotional and frame-perfect, music videos where audio-video sync is the entire point, any project that requires 4K delivery today (HyperFrames is 1080p capped), or any footage-heavy project where the value is in cutting between handheld B-roll and the edits are judgment calls about energy and rhythm. Those jobs still belong in DaVinci Resolve or Premiere. They always will, because the problem is not a software problem.
If you are building content that belongs in the first category — and if you ship regularly, most of your content probably does — this stack is a step-change. If you are building content that belongs in the second, this stack is a complement to your real editor, good for overlays and title cards, not for the cut itself.
A realistic first week
If you are going to try this stack, here is the pace I would pick if I were starting over. Not the aspirational pace. The pace that actually survives contact with your inbox.
Day one. Install Claude Code if you have not already. Install HyperFrames with npx skills add heygen-com/hyperframes. Run npx hyperframes init on a test project. Preview the default composition. Render it. Watch the MP4. That is it. You are not building anything yet. You are verifying the tools exist on your machine and that nothing is broken.
Day two. Export a minimal design system from Claude Design — just your logo, two colors, one typeface pair. Do not perfect it. Do not agonize over shade variants. A bad design system beats no design system for the first week because it gives you a spec to improve against.
Day three. Build one lower-third overlay, end to end, with your brand system applied. Use it on a real clip. Ship the clip somewhere, even if it is an internal test channel. The point is to close the full loop — design system feeds HyperFrames composition produces MP4 — at least once.
Day four. Set up an Auphonic account, save a preset, and wire the audio step into your pipeline. Re-render the clip from day three with clean audio and compare. This is the moment most people underestimate. Listen to the two versions back to back. Notice how the clean one sounds like it belongs somewhere professional and the raw one sounds like a first draft.
Day five. Wrap the whole flow — design system load, HyperFrames composition, Auphonic audio — in a Claude Code skill. Give it a name. Save it. Use it on a new clip. That skill is now yours. Every video you make going forward uses it or improves on it.
That is a five-day path from zero to a working, reusable Claude Code video production pipeline. Is it fast? Faster than learning a traditional NLE from scratch. Is it instant? No. Anyone who tells you it is instant is selling you something.
Claude Code Video Production: Common Questions
Do I need to know how to code to use HyperFrames with Claude Code?
No — Claude Code writes the HTML, CSS, and JavaScript compositions for you from plain-language prompts. You do need basic familiarity with the command line to run npx hyperframes init, preview, and render, and it helps to understand at a high level what a composition is. For the actual animation code, Claude Code handles it. Your job is to describe the intent clearly. For the full breakdown of each layer, see the three-layer walkthrough above.
What hardware do I need to run HyperFrames locally?
HyperFrames runs locally and renders each frame to an image before stitching into MP4, which means the work happens on your machine rather than a cloud render farm. I am being honest about the limit of my testing here — I have verified that a modern developer laptop handles short clips without issue, but I have not stress-tested long-form renders with heavy animation. Start with short clips, monitor your CPU and memory, and scale up from there.
Can I use this stack for 4K video delivery?
Not today. HyperFrames currently caps rendered output at 1080p. That works for most social and educational content, but if your delivery target is 4K for broadcast, cinema, or platform mandate, you will need to render the motion graphics in HyperFrames and composite them into a traditional NLE that handles the 4K master.
Which Claude model should I use — Opus 4.7 or Opus 4.6?
Opus 4.7, released on April 16, 2026, produces visibly better first-draft animation compositions — I use it for the heavy creative work of writing a new scene from scratch. For iterative edits (moving elements, adjusting colors, changing timing), Opus 4.6 is faster and cheaper with no quality loss on that kind of precision work. Use the heavier model where quality compounds, lighter where speed compounds.
How does Auphonic compare to doing audio cleanup manually?
Auphonic is not a replacement for a skilled audio engineer mixing a music album. It is a replacement for you sitting in a DAW applying the same compression, EQ, and loudness targeting to every video you ship. For voice-over work destined for web and social delivery, Auphonic produces consistent, broadcast-adjacent output every time, with no manual work once you have saved a preset.
Whether This Video Stack Fits Your Workflow
A three-tool Claude Code video production stack with HyperFrames and Auphonic turned video from a specialist chore into a repeatable pipeline — the reusable skills are what make it scale, not any single tool. Build the skills once, reuse them forever.
Start with one video end to end so you learn where each tool owns its slice. The second one takes a fraction of the effort.
If you want a video pipeline built for your channel, that's something I do through Ramlit. The three-tool stack and reusable skills are above.