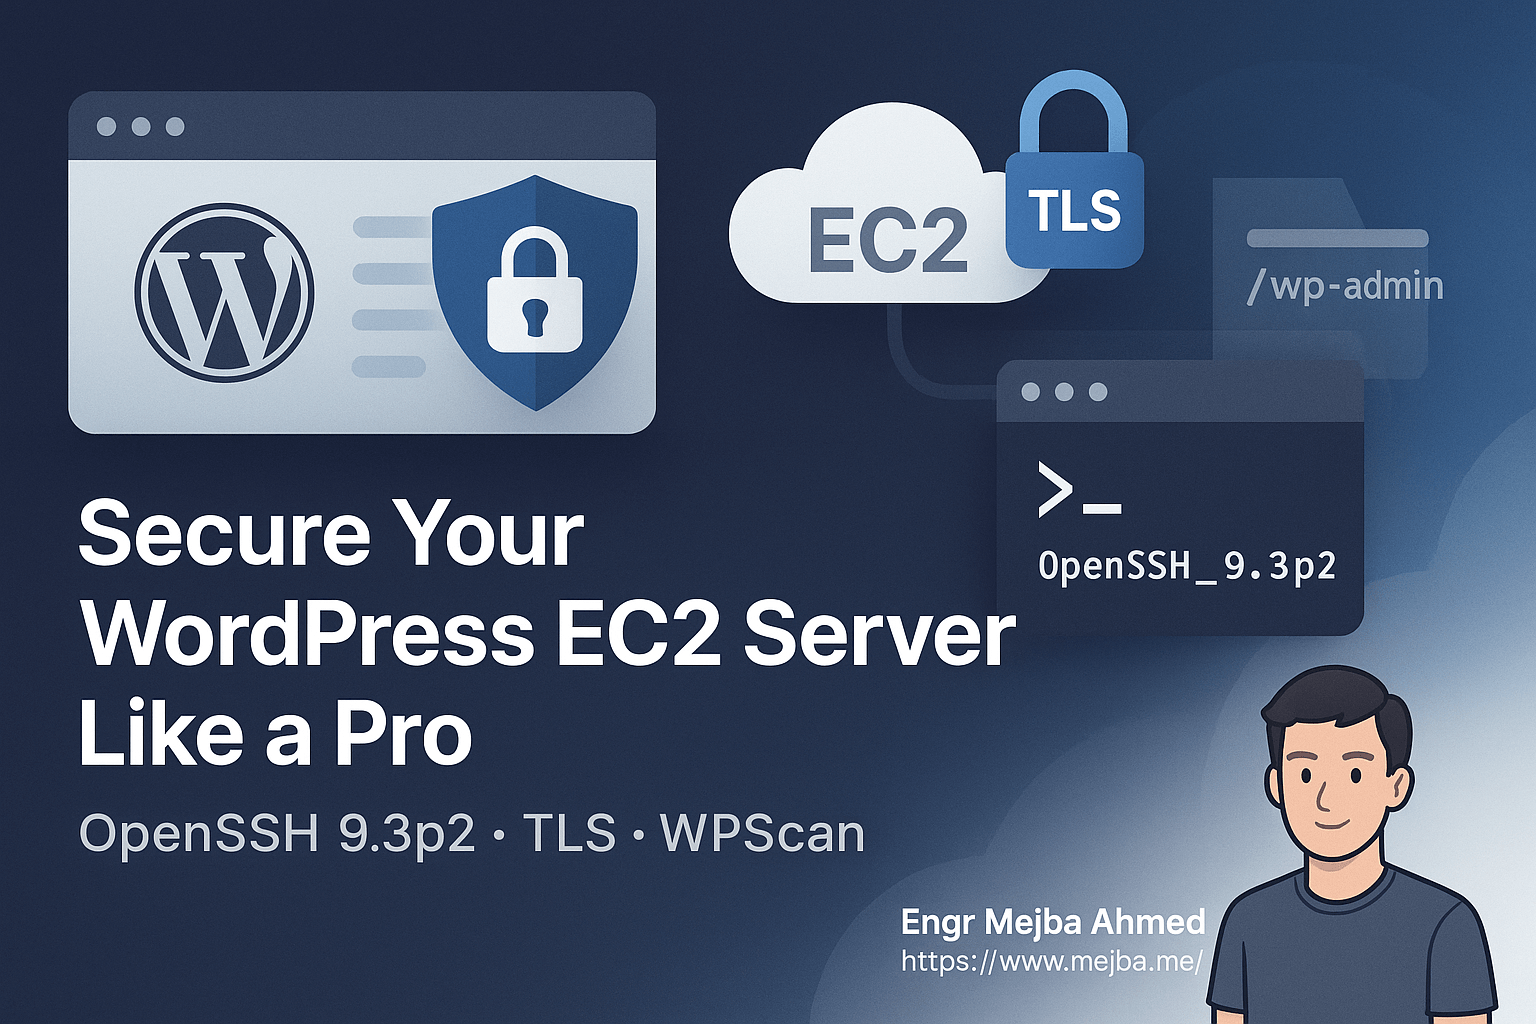
Secure WordPress EC2 SSH TLS: Full Hardening
A secure WordPress EC2 SSH TLS setup closes the doors attackers actually try — and on a fresh EC2 instance running WordPress, those doors are predictable: SSH, the admin login, unencrypted traffic, and vulnerable plugins. This walkthrough hardens all four in one sitting, using the exact sequence I run on every WordPress server I deploy.
Start With SSH, Because Everyone Else Does
Your auth log is already full of strangers trying root and admin — that's the internet's background radiation. Three changes end their careers. Disable password authentication entirely in /etc/ssh/sshd_config (PasswordAuthentication no) so only key holders can connect. Disable root login (PermitRootLogin no) and use a sudo-capable user instead. Then restrict the security group: port 22 open to your IP or your VPN range, not 0.0.0.0/0. With keys-only, no root, and a scoped source IP, brute force against SSH stops being a threat and becomes a log entry.
Reload the daemon and — before closing your session — open a second terminal and confirm you can still log in. The oldest hardening joke is locking yourself out with the door you just reinforced, and it stops being funny around the third time.
Lock Down the WordPress Admin
The login page is the second-favorite target. Enforce strong passwords for every account and delete any user named admin after transferring content ownership. Add two-factor authentication with any reputable plugin, and limit login attempts so credential stuffing gets rate-limited into futility. If your team's IPs are stable, restricting /wp-admin at the web server level is the bluntest and most effective control of all — attackers can't brute-force a page they can't reach.
Two wp-config.php lines complete the lockdown: DISALLOW_FILE_EDIT removes the built-in code editor (a compromised admin account otherwise becomes instant code execution), and unique salts — regenerated from the official generator — invalidate any stolen session cookies.
TLS Is the Floor, Not the Finish
Install a Let's Encrypt certificate and force HTTPS site-wide with a 301 redirect, then set Strict-Transport-Security so browsers refuse to downgrade. Update the site URL settings so WordPress generates HTTPS links natively rather than relying on redirects forever. Verify with an external scan — SSL Labs will flag weak protocols and incomplete chains that a green padlock quietly hides. Renewal must be automated and tested with a dry run; an expired certificate takes your credibility down with your uptime.
Scan Yourself Before They Scan You
WPScan enumerates what attackers enumerate: vulnerable plugin versions, exposed usernames, readable configuration files. Run it against your own site quarterly and after every plugin change. The findings drive the unglamorous work that actually prevents breaches — updating the plugin you forgot about, removing the theme you trialed once, closing user enumeration. Pair the scan with a monthly patch day for core, plugins, and system packages, staged first if the site earns money.
The Backup That Makes Everything Survivable
Hardening reduces the odds; backups cap the damage. Snapshot the EBS volume daily, keep at least a week of history, and store database dumps off-instance — a backup on the server it protects vanishes with the server. Restore one backup, once, on a scratch instance: a restore you've never rehearsed is a hypothesis, not a plan.
The Rhythm That Keeps It Locked
Hardening decays because software moves. First Monday monthly: patches. Quarterly: WPScan and an access audit — SSH keys that should die, admin accounts that outlived their humans, security group rules referencing IPs nobody remembers. After any incident or major change: re-run this whole checklist top to bottom. A server hardened once is briefly safe; a server on a maintenance rhythm stays that way.
The Firewall Layer Most Guides Skip
Security groups handle the network edge, but a web application firewall handles the application edge — and WordPress specifically benefits. Cloudflare's free tier in front of your EC2 instance filters the bulk of exploit scanning before it touches Apache, hides your origin IP, and absorbs the small-scale denial-of-service noise every WordPress site eventually attracts. Point DNS through the proxy, restrict your security group's HTTP/HTTPS ingress to Cloudflare's published ranges, and attackers lose the ability to even address your server directly. Fifteen minutes of setup, permanent reduction in attack surface.
What a Compromise Actually Looks Like
Know the symptoms so you catch them early: admin users you didn't create, unfamiliar PHP files in uploads/, cron entries running base64 blobs, traffic spikes to URLs that don't exist, or Google flagging your site. If any appear, don't clean in place — snapshot for forensics, restore the last known-good backup, rotate every credential, then diagnose the entry point before returning to service. The security groups, scans, and backups above exist precisely so this paragraph stays theoretical; the teams that skip them read it later as instructions.
The Checklist, Compressed
For your runbook: SSH keys-only with root disabled and source IPs scoped; admin behind 2FA with attempts limited and file editing off; TLS forced with HSTS and renewal tested; WPScan quarterly with monthly patch Mondays; daily snapshots with one rehearsed restore; Cloudflare proxying with origin ingress restricted. Six lines that cover the attacks WordPress servers actually face. Print it, run it on every new instance, and re-run it every quarter — the server you harden on a rhythm is the server that never makes the incident channel.
Hardening as a Rhythm, Not a Project
A secure WordPress EC2 SSH TLS posture decays without upkeep — patch monthly, scan quarterly, and re-run the checklist after every major change. Security is a cadence. My the SSL setup and permission hygiene go deeper.
If you want your stack hardened and kept that way, that's work I take on through Ramlit.