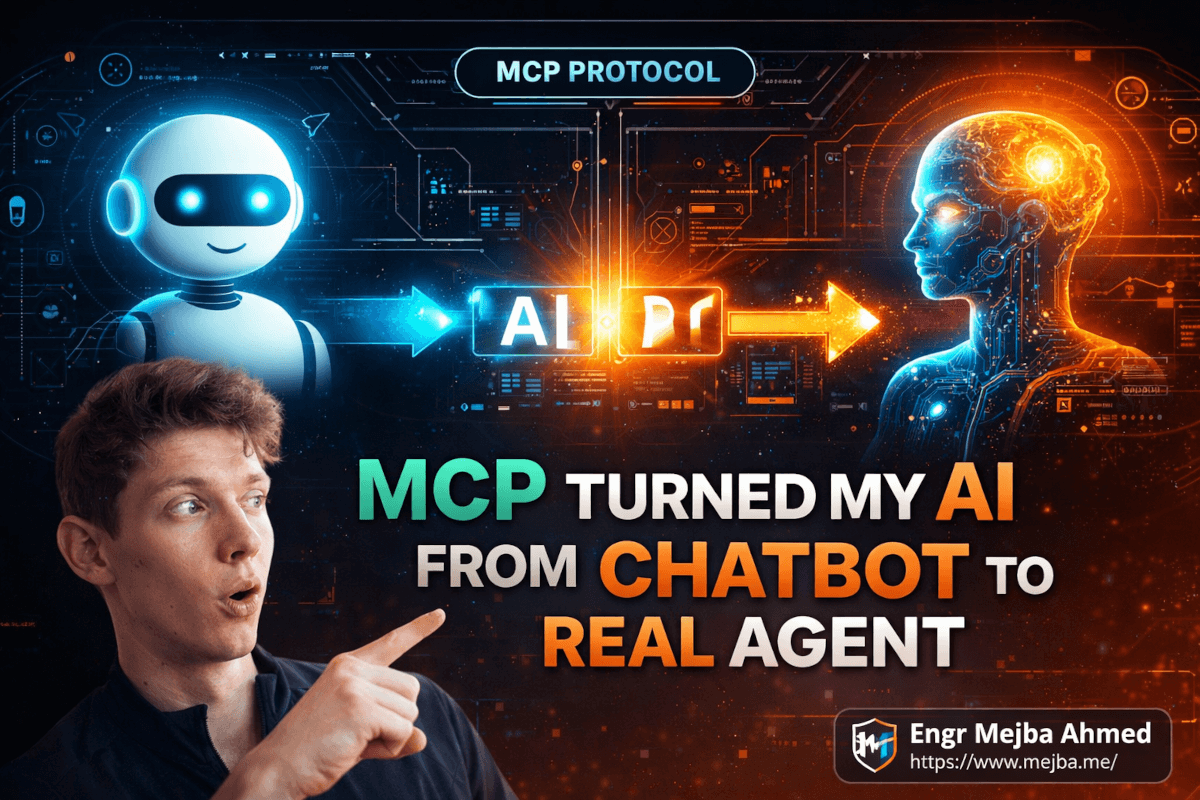
MCP Turned My AI From Chatbot to Real Agent
I stared at my screen for a solid thirty seconds, genuinely confused.
Claude had just created a note in my Obsidian vault — not because I copied text and pasted it, not because I used some Zapier integration — but because I asked it to. In plain English. "Create a note about French press coffee." And there it was, sitting in my vault like I'd written it myself.
That was three weeks ago. Since then, I've connected Claude to my task manager, my calendar, a web scraper, YouTube transcripts, and — I'm not making this up — Kali Linux. My AI can now hack for me. Well, sort of. But the point stands: something fundamental shifted, and most developers I talk to haven't caught on yet.
The shift has a name. It's called MCP — the Model Context Protocol. And once you understand what it does, you'll realize that the gap between "AI chatbot" and "AI agent" isn't some far-off research problem. It's a configuration file.
Here's what I didn't expect: the hardest part wasn't the technology. The hardest part was unlearning how I thought about AI.
The Problem Nobody Talks About
I watched NetworkChuck's breakdown of MCP recently — a 38-minute deep dive that's already crossed 1.2 million views — and something he said early on clicked for me in a way that months of reading documentation hadn't.
He compared LLMs to people. Stay with me here.
When you or I want to use a tool — say, ClickUp for task management — we interact through a graphical interface. Buttons, menus, drag-and-drop. The GUI abstracts away all the underlying complexity. We don't need to know the database schema or API endpoints. We just click.
LLMs hate GUIs. They can technically interact with them (screenshot-based agents exist), but it's slow, unreliable, and feels like teaching someone to drive by showing them photos of steering wheels.
Okay, so give them APIs instead? That's what APIs are for — letting one program talk to another programmatically. And yes, this works. But here's the catch that Chuck nailed perfectly: every API has hundreds of endpoints with unique authentication schemes, parameter formats, and response structures. ClickUp's API alone is massive. So is Obsidian's. So is GitHub's. So is every other tool you'd want your AI to use.
To connect an LLM to just five tools via raw APIs, you'd need to write custom integration code for each one, handle authentication for each one, parse responses for each one, and then somehow teach the LLM which endpoints to call and when.
I've done this. For a client project last year, I spent two weeks building a custom tool-calling layer for GPT-4 that connected to three internal APIs. Two weeks. Three tools.
MCP changes that equation entirely.
What MCP Actually Is (Without the Hype)
The Model Context Protocol is, at its core, a standardized interface between LLMs and external tools. Anthropic created it, but it's become an industry standard adopted by OpenAI, Google, and basically every AI tooling company.
Think of it like USB-C for AI tools. Before USB-C, every device had its own proprietary connector. You needed a drawer full of cables. USB-C said: "Here's one standard. Everyone use this." MCP does the same thing for LLM-to-tool communication.
Here's the architecture in plain terms:
LLM (Claude, GPT, Llama)
    ↕ speaks MCP protocol
MCP Server (runs locally or remotely)
    ↕ handles all the messy API stuff
External Tool (Obsidian, ClickUp, GitHub, etc.)
The MCP server sits between your AI and the tools it needs. It handles authentication, API calls, response parsing — all of it. The LLM doesn't need to know anything about REST endpoints or OAuth tokens. It just sees a list of available "tools" described in plain language:
create_note— Create a new note in the vaultsearch_vault— Search for content across all notesappend_content— Add content to an existing note
The LLM picks the right tool, passes the parameters, and gets back structured results. That's it. No custom code. No API wrangling.
But here's the part that made me sit up straight — and this connects to something much bigger.
From Chatbot to Agent: The Three Levels
While I was setting up MCP servers, I came across Jeff Su's explanation of AI agents — a video that's hit nearly 4 million views — and it crystallized something I'd been feeling but couldn't articulate.
Jeff breaks AI into three levels, and once you see them, you can't unsee them:
Level 1: Basic LLM. You give input, you get output. Ask ChatGPT to draft an email? Great. Ask it when your next meeting is? It fails. It doesn't know. It doesn't have access. It just generates text based on training data.
Level 2: AI Workflow. You add predefined paths. "When the user asks about calendar events, first query Google Calendar, then respond." This works — until the user asks something you didn't anticipate. "What's the weather like on the day of my meeting?" Your workflow only knows about Google Calendar, not weather APIs. Every new capability requires a human to manually add another path.
Here's the key insight from Jeff's breakdown: no matter how many steps you add — hundreds, thousands — if a human is the decision maker about which path to follow, it's still just a workflow. Not an agent.
Level 3: AI Agent. The LLM itself decides what to do. It reasons ("I need calendar data AND weather data"), selects tools ("I'll use Google Calendar API first, then a weather service"), executes, evaluates the result, and iterates if needed.
The framework behind this is called ReAct — Reason and Act. The agent thinks about what it needs, takes action using tools, observes the result, and decides whether to continue or return a final answer.
And this is where MCP becomes the missing piece. Because an AI agent needs tools to act. Without tools, it's just thinking out loud. MCP gives it hands.
Setting Up MCP With Docker (The Practical Part)
I learned this the hard way: don't try to install MCP servers manually on your first attempt. Use Docker. It handles isolation, dependencies, and cleanup automatically.
Here's my exact setup process:
Step 1: Install Docker Desktop
Grab it from the official site for your OS. On Mac:
# Download and install Docker Desktop from docker.com/desktop
# Or via Homebrew:
brew install --cask docker

# Verify installation
docker --version
# Docker version 28.x.x

# Enable MCP Toolkit in Docker Desktop:
# Settings → Beta Features → Docker MCP Toolkit → Enable
On Windows, you'll need WSL 2 or Hyper-V as a backend first. Linux is straightforward — just install Docker Engine and Desktop.
Step 2: Browse the MCP Catalog
Docker Desktop now ships with an MCP catalog — a curated list of official MCP servers. Open Docker Desktop, go to the MCP Toolkit section, and browse the catalog. I was genuinely surprised at what's available:
- Obsidian — Full vault access (read, write, search)
- Brave Search — Web search with privacy
- Fetch — Grab contents of any URL
- YouTube Transcripts — Pull transcript from any video
- DuckDuckGo — Search without API keys
- Airbnb — Search listings (yes, really)
Adding a server is one click. Some need API keys (Brave, for example), but many work out of the box.
Step 3: Connect Your LLM Client
Docker MCP Toolkit supports multiple clients:
- Claude Desktop (free tier works)
- Cursor (for code-focused work)
- LM Studio (for local models like Llama)
Click "Connect" next to your client. Docker automatically updates the MCP configuration file that your client reads. For Claude Desktop, this lives at ~/Library/Application Support/Claude/claude_desktop_config.json on Mac.
Here's what the config looks like under the hood:
{
  "mcpServers": {
    "obsidian": {
      "command": "docker",
      "args": [
        "run", "-i", "--rm",
        "-e", "OBSIDIAN_API_KEY=your-key-here",
        "mcp/obsidian"
      ]
    },
    "fetch": {
      "command": "docker",
      "args": ["run", "-i", "--rm", "mcp/fetch"]
    },
    "youtube-transcript": {
      "command": "docker",
      "args": ["run", "-i", "--rm", "mcp/youtube-transcript"]
    }
  }
}
Each server runs as an isolated Docker container. When Claude needs to use a tool, it spins up the container, makes the call, and the container shuts down. Clean. Isolated. No dependency conflicts.
Step 4: Test It
Restart Claude Desktop. Click the settings icon — you should see "MCP Docker" listed. Click it to verify your tools are loaded.
Then just ask: "Search my Obsidian vault for notes about project planning."
Claude will recognize it has the search_vault tool, ask for permission to use it (first time only if you choose), and return results from your actual vault.
The first time I saw this work, I literally said "Are you kidding me?" out loud. In an empty room. At 2 AM.
Building a Custom MCP Server
The catalog is great for common tools. But the real power unlocks when you build custom servers for your specific needs.
NetworkChuck's video showed something wild: he built an MCP server that wraps Kali Linux tools. His AI could run nmap scans, use Metasploit, and enumerate targets — all through natural language.
I built something less dramatic but more practical for my daily work: an MCP server that wraps my blog's CMS API. Here's the skeleton:
#!/usr/bin/env python3
"""Custom MCP Server for mejba.me blog CMS."""

import json
import httpx
from mcp.server import Server
from mcp.types import Tool, TextContent

app = Server("blog-cms")

BASE_URL = "https://mejba.me/api"
API_TOKEN = "your-api-token"

@app.list_tools()
async def list_tools():
    return [
        Tool(
            name="create_draft",
            description="Create a new blog post draft with title, content, and tags",
            inputSchema={
                "type": "object",
                "properties": {
                    "title": {"type": "string", "description": "Post title"},
                    "content": {"type": "string", "description": "Markdown content"},
                    "tags": {"type": "array", "items": {"type": "string"}}
                },
                "required": ["title", "content"]
            }
        ),
        Tool(
            name="list_recent_posts",
            description="List the most recent blog posts with their status",
            inputSchema={
                "type": "object",
                "properties": {
                    "limit": {"type": "integer", "default": 10}
                }
            }
        ),
        Tool(
            name="get_post_analytics",
            description="Get view count and engagement metrics for a post",
            inputSchema={
                "type": "object",
                "properties": {
                    "slug": {"type": "string", "description": "Post slug"}
                },
                "required": ["slug"]
            }
        )
    ]

@app.call_tool()
async def call_tool(name: str, arguments: dict):
    headers = {"Authorization": f"Bearer {API_TOKEN}"}

    if name == "create_draft":
        response = httpx.post(
            f"{BASE_URL}/posts",
            headers=headers,
            json={
                "title": arguments["title"],
                "content": arguments["content"],
                "tags": arguments.get("tags", []),
                "status": "draft"
            }
        )
        data = response.json()
        return [TextContent(
            type="text",
            text=f"Draft created: {data['slug']} (ID: {data['id']})"
        )]

    elif name == "list_recent_posts":
        limit = arguments.get("limit", 10)
        response = httpx.get(
            f"{BASE_URL}/posts?limit={limit}", headers=headers
        )
        posts = response.json()
        result = "\n".join(
            f"- [{p['title']}] ({p['status']}) - {p['views']} views"
            for p in posts
        )
        return [TextContent(type="text", text=result)]

    elif name == "get_post_analytics":
        response = httpx.get(
            f"{BASE_URL}/posts/{arguments['slug']}/analytics",
            headers=headers
        )
        data = response.json()
        return [TextContent(
            type="text",
            text=json.dumps(data, indent=2)
        )]

if __name__ == "__main__":
    import asyncio
    from mcp.server.stdio import stdio_server
    asyncio.run(stdio_server(app))
Wrap this in a Dockerfile, and any MCP-compatible client can use your blog CMS through natural language. "Hey Claude, create a draft post about MCP with these tags." Done.
The pattern works for anything with an API: internal dashboards, databases, IoT devices, CI/CD pipelines. If it has an API, you can wrap it in an MCP server in under an hour.
The Honest Mistakes I Made
I want to be transparent about what tripped me up, because I think these are mistakes most people will make.
Mistake 1: Treating MCP agents like traditional automation. My first instinct was to build rigid workflows — "When I say X, do Y." But the whole point of the agent paradigm is that the LLM decides which tools to use and when. I kept over-constraining it. The best results came when I gave Claude a goal and let it figure out the tool sequence.
Mistake 2: Ignoring the permission model. MCP servers can access your files, your APIs, your network. Claude Desktop asks for permission before each tool use (unless you allow it permanently). I disabled the confirmation prompts for convenience and then forgot I had an MCP server connected to my email. Claude helpfully "organized" my inbox based on a casual comment I made. Lesson learned: keep permissions tight until you trust the workflow.
Mistake 3: Expecting perfection from local models. I tried running MCP-connected agents through LM Studio with Llama 3.1. The tool selection was noticeably worse than Claude. Local models work, but they need more explicit prompting about when and how to use tools. Claude and GPT-4 are significantly better at autonomous tool selection — for now.
Here's a controversial take: I think most "AI agent" products being sold right now are actually Level 2 workflows wearing an agent costume. They follow predefined paths with some LLM decision-making sprinkled in. True Level 3 agents — where the LLM genuinely reasons about tool selection, execution order, and iterates autonomously — are rare outside of research demos and a handful of real implementations.
That said, MCP is the infrastructure layer that makes real agents possible. The protocol exists. The tools exist. What's catching up is the reasoning capability of the models themselves.
What This Looks Like in Practice
After three weeks of building MCP-based workflows, here's my concrete before/after:
Blog research — Before: 2-3 hours manually watching YouTube videos, taking notes, cross-referencing docs. After: 25 minutes. Claude pulls YouTube transcripts via MCP, searches my Obsidian research vault for related notes, and drafts a structured outline. I edit from there.
Client project setup — Before: 45 minutes creating repos, setting up CI/CD, adding to project tracker. After: 8 minutes. Claude creates the GitHub repo, initializes the project structure, adds it to ClickUp with milestones, and sends a Slack notification to the team. All through MCP-connected tools.
Daily standup prep — Before: 15 minutes checking ClickUp, GitHub PRs, and Slack channels. After: 2 minutes. "What did I work on yesterday and what's pending for today?" Claude checks all three and gives me a summary.
The time savings are real. Not theoretical. Not "up to X%." These are my actual numbers from the past three weeks.
But — and this matters — the initial setup took me a full weekend. Installing Docker, configuring servers, testing connections, debugging when things didn't work. Once it's running, it's magical. Getting there requires patience.
Where This Goes Next
NetworkChuck mentioned something at the end of his video that I think most viewers glossed over: the Docker MCP Gateway. This makes your local MCP servers accessible remotely — meaning tools like n8n, Make.com, or any external automation platform can connect to your MCP servers over the network.
Think about what that means. Your AI agent isn't limited to your local machine anymore. You could have an n8n workflow that triggers a Claude agent that uses your custom MCP servers running on a VPS. The agent reasons about what to do, uses tools through MCP, and returns results — all without human intervention.
We're not there yet for most production use cases. But the gap between "demo" and "production" is closing faster than I expected.
If you take one thing from this post: don't wait until AI agents are "ready." The infrastructure — MCP, Docker containers, tool-calling LLMs — is here now. The developers who learn this stack today will have a massive advantage when the reasoning capabilities catch up.
I'm betting my workflow on it. And honestly? Three weeks in, it's already paying off.
Let's Work Together
Looking to build AI systems, automate workflows, or scale your tech infrastructure? I'd love to help.
- Fiverr (custom builds & integrations): fiverr.com/s/EgxYmWD
- Portfolio: mejba.me
- Ramlit Limited (enterprise solutions): ramlit.com
- ColorPark (design & branding): colorpark.io
- xCyberSecurity (security services): xcybersecurity.io