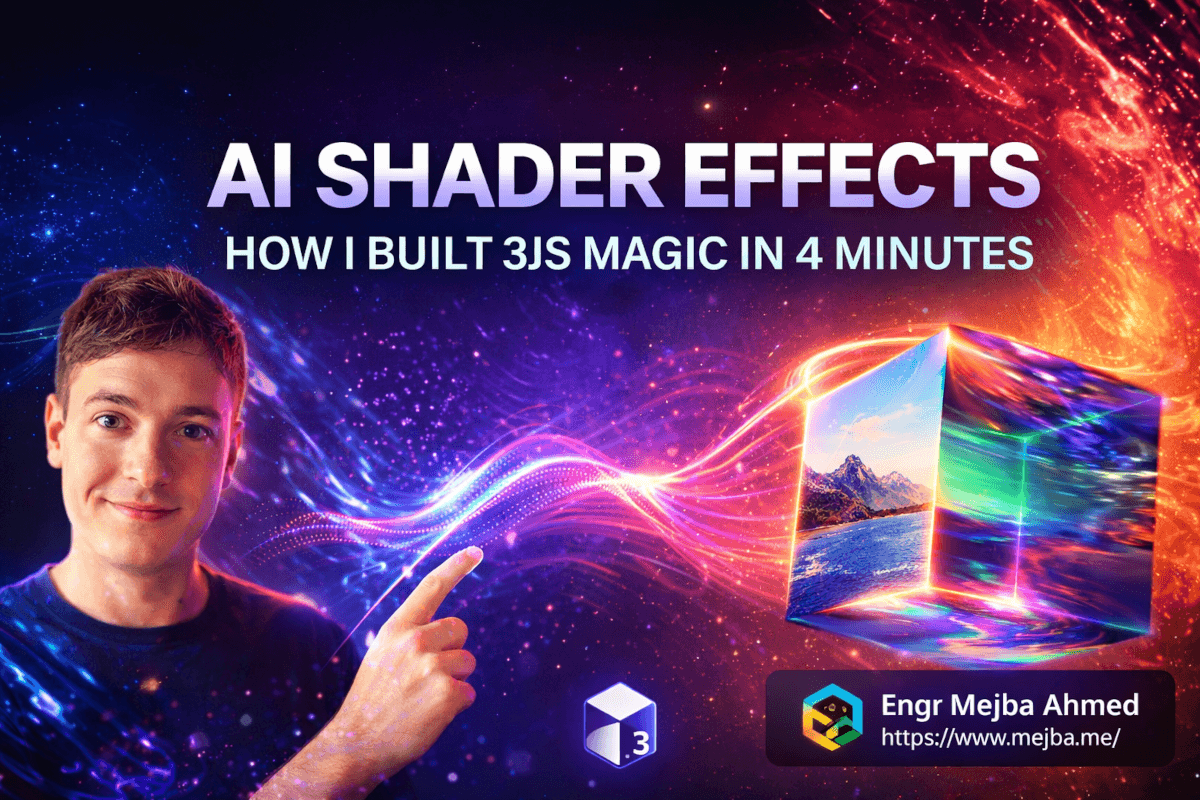
AI Shader Effects Three.js: 3JS Magic in 4 Minutes
Six hours. That's how long I spent staring at GLSL code the first time I tried to add a distortion hover effect to a client's gallery page.
Not six hours building the whole page. Six hours on one hover animation that lasted exactly 0.4 seconds when the user's mouse moved over an image.
The vertex shader was fine. The fragment shader worked in isolation. But passing the uniform variables correctly? Getting the mouse coordinates normalized? Handling the canvas resize on different viewport sizes? I kept hitting walls I didn't know existed — and every Stack Overflow answer I found was either three years old, used a completely different Three.js version, or assumed I already knew things I clearly didn't.
I shipped the page without the shader effect. Just a boring CSS opacity transition. The client didn't notice. But I did — because I'd spent six hours failing at something I'd seen junior creative developers execute flawlessly on award-winning sites, and the gap between what I could imagine and what I could build felt personal.
That was about 14 months ago.
Last week, I applied five different shader hover effects — wobble, wave, chromatic aberration, distortion, and an RGB split — to a full gallery page and shipped the whole thing in under 45 minutes. A single effect from nothing to working preview? Four minutes.
The difference wasn't that I finally mastered GLSL. I still can't write a displacement shader from scratch without opening documentation. The difference is I built a Claude Code skill that does it for me — and more importantly, does it correctly, with proper cleanup, viewport handling, and real-world edge case coverage.
That gap I just created — "how exactly does that work?" — is what we're closing here. But first, you need to understand why the "just learn shaders properly" path is the wrong advice for most front-end developers.
Why Shaders Stay Out of Reach (And Why That's Not Your Fault)
Here's the thing about shaders in front-end development: the knowledge gap isn't a learning curve. It's a cliff face.
CSS animation? You learn by doing — break things, fix things, ship things. Grid and flex? A focused afternoon unlocks most of what you need. Even complex JavaScript patterns like debouncing, virtual scrolling, or complex state management — you can get these working with patience and good documentation.
Shaders are different in a way that most tutorials won't admit.
GLSL (OpenGL Shading Language) is a C-like language running directly on the GPU, processing vertices and fragments in parallel with almost zero tolerance for the fuzzy "good enough" understanding you can get away with in JavaScript. You can't console.log inside a shader. Debugging is visual guessing — change one variable, rebuild, squint at the result, repeat. Three.js adds an abstraction layer that sometimes makes shader integration harder to reason about, not easier.
The actual learning path to writing production custom shaders from scratch looks something like this:
- Understand linear algebra properly — matrices, dot products, homogeneous coordinates
- Learn how WebGL's rendering pipeline works at the GPU level
- Master GLSL syntax and the constraints of shader programs (no dynamic loops, no recursion, strict typing)
- Understand Three.js's
ShaderMaterialand how uniforms, attributes, and varyings flow through it - Figure out mouse coordinate normalization, viewport-space math, and time uniform management
- Debug results by changing one variable at a time until something looks closer to what you wanted
That's not a weekend. That's months of focused study if you're starting from zero. And here's what most tutorials won't say directly: most of that knowledge doesn't transfer cleanly to the rest of your work. It's deep specialization — valuable if you're building a creative agency or full-time generative art. For everyone else working across a full stack, shipping product, and managing client relationships, the return on that time investment is genuinely questionable.
The real pain isn't that shaders are hard. It's that shaders are hard relative to how often you need them.
But — and this is the part that matters — they look incredible. A well-executed chromatic aberration hover effect on a gallery can be the difference between a site that feels like a premium product and one that feels like a template. The visual delta is massive. The implementation complexity is also massive.
What if you could get the visual delta without the complexity?
What a Claude Code Skill Actually Is
Before I get into the shader implementation, I need to explain what a "skill" in Claude Code means in practice — because it's not what most people picture when they hear "AI code generation."
When developers imagine AI writing code, they picture a chatbot generating something you copy-paste into your project and then spend an hour manually adapting. That model works for boilerplate. It fails for complex, context-aware tasks like shader integration, where the correct output depends heavily on how your project is structured.
A Claude Code skill is different. Think of it as a versioned, reusable instruction set that:
- Has persistent context — it knows what project structures it expects, what options are available, and how previous generations have failed
- Reads your codebase first — before writing a single line, a well-built skill scans your project to understand what exists, what patterns are in use, and what needs to change
- Applies changes surgically — it modifies only what needs modifying, integrating with your existing patterns rather than overriding them
- Accepts configurable parameters — shader type, intensity, animation style are passed as structured options rather than prose descriptions
The shader skill I built — let's call it apply-shader-hover — works exactly this way. When invoked on a project, it:
- Scans the HTML file I specify to find image elements inside gallery-type containers
- Identifies whether the project uses vanilla JavaScript, a bundler like Vite, or a framework
- Generates the appropriate Three.js setup (canvas initialization, WebGL renderer, scene, camera)
- Writes the specific GLSL shader source for whichever effect was selected
- Injects mouse event listeners with proper coordinate normalization
- Adds a
ResizeObserverto maintain canvas dimensions correctly - Wires everything together with an initialization pattern that doesn't leak memory
That last point matters more than it sounds. AI-generated WebGL code frequently fails to properly dispose of renderer resources, remove event listeners, or handle component unmounting. My skill has learned these failure modes from iterative real-world testing and addresses them explicitly.
But the shader options themselves are where things get interesting. Here's what actually distinguishes each one — not just visually, but at the code level.
The Four Shader Effects: What's Actually Happening Under the Hood
Distortion — The Fluid Warp
The distortion shader warps the image geometry around the mouse position, creating a bubble effect that makes the image feel like it's pushing away from your cursor.
The core mechanism is a displacement function in the fragment shader that samples the texture at a slightly offset UV coordinate — the offset calculated based on distance from the normalized mouse position. At "medium" intensity, the max offset is around 0.08 UV units. At "strong," you're looking at 0.15+, which starts reading as almost liquid.
Key uniforms driving the effect:
u_mouse— normalized 0.0–1.0 mouse position in screen spaceu_time— elapsed time for smooth animation in/out on hoveru_intensity— scalar multiplier that the CLI option maps to (0.04 for subtle, 0.08 medium, 0.15 strong)
This one works beautifully on dark-themed galleries with high-contrast photography. On lighter, more corporate layouts, it can read as heavy-handed — the animation style parameter helps tune it, but the underlying effect has strong personality.
Wave — The Elegant Ripple
Wave is subtler than distortion and works better where you want the hover to feel sophisticated rather than dramatic. Instead of warping around the cursor, it creates a ripple pattern radiating outward from the point of interaction.
The interesting engineering detail here is the animation style parameter. "Snappy" uses an exponential decay curve — the effect hits full intensity almost immediately and dies back quickly, like pressing glass. "Languid" uses a slower curve with a slight overshoot, so the wave continues just past the trigger event before settling, like water. "Smooth" uses simple cosine interpolation between states.
These feel like implementation minutiae until you see them side-by-side. The snappy variant feels digital and precise. The languid variant feels organic and physical. For a photography portfolio, that choice shapes the entire experience.
Chromatic Aberration — The One That Gets Reactions
This is consistently the effect that stops people mid-scroll. Chromatic aberration simulates the color fringing from a lens that doesn't focus all wavelengths at the same focal point — a slight separation of the red, green, and blue channels, especially toward the edges.
In the fragment shader, you sample the texture three times:
- Red channel:
texture2D(u_texture, uv + offset) - Green channel:
texture2D(u_texture, uv)— no offset, this is the anchor - Blue channel:
texture2D(u_texture, uv - offset)
The offset direction is dynamic — it follows the mouse movement vector, so the aberration "trails" as you move across the image, which reads as physically accurate lens behavior.
At "strong" intensity with "snappy" animation on a dark gallery with high-contrast photography, this effect is almost aggressive — in a good way. One of my clients got an unsolicited inquiry from a prospect who specifically mentioned "the cool image effects" on their site. That came from this shader. On a lighter, more conservative layout, the same settings would read as overwrought. The design judgment is yours. The implementation is the skill's.
Wobble — The One That Lives in the Vertex Shader
Wobble is the most playful of the four, and technically the most distinct — it operates in the vertex shader rather than the fragment shader. Instead of manipulating how pixels are colored, it manipulates the geometry itself.
A sinusoidal distortion propagates across the image plane from the mouse entry point and damps out over roughly 0.8 seconds, creating a jelly-like oscillation. The visual result is like pressing on a rubber image stretched over a rigid frame. Great for product cards, avatar images, anything where you want physicality in an otherwise flat interface.
This one requires the most careful setup — if the Three.js canvas isn't configured with correct pixelRatio handling, the wobble reads as jagged on retina displays. The skill accounts for this explicitly. If you're adapting the output code manually rather than using the skill as-is, this is the first place to check when the result looks wrong.
Building the Skill: The Actual Process, Not the Demo Version
I want to be straight about something: this skill didn't arrive fully-formed from a single prompt session. It took 8–10 iterative rounds to get it to the quality level where I'd deploy it on a client project without reviewing every line.
The first version was embarrassingly naive. I prompted Claude Code to "create a skill that applies Three.js shader hover effects to gallery images." What came back was syntactically correct code that didn't run — because it assumed a module bundler was available when the actual target project used vanilla JavaScript with script tags.
Round 2 fixed the environment detection but broke when image elements were nested inside complex gallery wrapper structures rather than being direct children.
Round 3 handled nesting but missed images implemented as CSS background-image rather than <img> elements — which a significant portion of gallery implementations use for aspect-ratio control reasons.
Each failure became part of the skill's knowledge base. I added documented examples of each pattern: "here's a gallery that uses background images, here's what the skill should do differently." The skill accumulated contextual knowledge from real-world failures rather than theoretical assumptions.
The inflection point was when I started adding what I call "failure mode documentation" — not just describing what the skill should do when everything works, but explicitly documenting what it should do when things go wrong. What happens if Three.js isn't available on the page? What happens if the target selector finds zero elements? What if the browser doesn't support WebGL?
A skill that handles failures gracefully is infinitely more trustworthy on real projects than one that only works in clean demo conditions. That's a principle worth keeping as you build your own.
The Actual Workflow: From Invocation to Preview
Here's exactly what the current workflow looks like — the production version, not a simplified demo.
Step 1: Invoke from inside the project
From the project directory in Claude Code:
/apply-shader-hover
The skill immediately asks two questions:
- Which file contains the gallery? (I provide the path)
- Which shader effect? (distortion / wave / chromatic / wobble)
Step 2: Configure parameters
After choosing the shader type, the skill presents the relevant options. For chromatic aberration:
Intensity: subtle | medium | strong
Animation style: smooth | snappy | languid
Apply to: all gallery images | specific selector
I select "strong" + "snappy" + "all gallery images." The whole interaction — including my typing — takes about 20 seconds.
Step 3: Codebase context read
Before generating any code, the skill reads:
- The target HTML file (image structure, existing JavaScript includes)
- The project's CSS (element sizing and positioning context)
- Any existing Three.js usage (to avoid duplicate renderer initialization)
This context pass is what makes the output integrate rather than just coexist with the project.
Step 4: Generation and injection
The skill generates:
- Three.js initialization (renderer, scene, camera, canvas element with correct
pixelRatio) - GLSL shader source strings for both vertex and fragment shaders
- Uniform management and update loop
- Mouse event listeners with viewport-space coordinate normalization
ResizeObserverintegration- Cleanup/disposal on page unload
Output lands in a new shader-hover.js file (or equivalent), with a single script tag added to the HTML. Not scattered through existing files.
Step 5: Review
The generation itself takes 2–3 minutes. Review and any tweaks take another 5–10. I'm looking for: correct selector targeting, canvas z-index and positioning, any project-specific edge cases the skill missed. Corrections at this stage are almost always minor.
That's the workflow. The code underneath is genuinely complex. The interaction layer is not. And that asymmetry — simple interface over complex implementation — is exactly what a well-built skill should provide.
The Honest Take: What This Actually Changes (and What It Doesn't)
Most AI tooling content I've seen skips the failure cases and shows demos that work perfectly once, in ideal conditions, and then declares the future has arrived. That framing is useless.
Here's what actually changed in my work.
What genuinely got better:
The biggest shift isn't time savings — it's access. The chromatic aberration effect I described? I would never have offered that to a client before this skill existed. The implementation cost made it impractical for most projects. Now I can propose it as a differentiator because the implementation cost is essentially zero. The range of what I can offer expanded without a corresponding demand on my expertise.
Concretely: a shader implementation that would have taken me 6+ hours (if I attempted it at all) now takes under 45 minutes including review. The 4 minutes of generation and 10–15 minutes of review leave 25–30 minutes for things only I can do — deciding whether the effect belongs in this context, testing on real device sizes, making sure it serves the overall experience.
What still requires real judgment:
The skill knows how to apply a strong chromatic aberration shader to every image in a gallery. It doesn't know whether a strong chromatic aberration shader should be on that gallery — whether it fits the brand, whether it serves the audience, whether the photography style supports it.
That call is still yours. The AI handles mechanical complexity. The design decisions remain human.
Where it still goes wrong:
Non-standard HTML structures — projects that mix vanilla JS with module patterns, or unusual asset loading configurations — sometimes confuse the context-reading phase. These cases have gotten rarer through iteration but they haven't disappeared.
There's also a class of errors that come from ambiguous project setups: a project that looks like it uses a bundler but actually doesn't, or one where Three.js is loaded conditionally. The skill handles these better than it used to, but a quick review pass before deploying on a client project is still worth doing.
The prediction I'll commit to:
The failure cases will shrink significantly over the next 12–18 months as skills get better at reading complex project contexts. Right now the skill works reliably on roughly 80–85% of standard project structures without manual correction. That number is heading toward 95%+.
The unpopular opinion:
Some developers hear this kind of workflow and think it represents a loss of craft — replacing real skill with AI dependency. I've heard this argument applied to every abstraction in web development history. jQuery abstracting the DOM. Webpack abstracting module bundling. TypeScript abstracting JavaScript type safety.
The developers who built expertise on top of those abstractions are the ones who moved forward. Knowing when a chromatic aberration effect belongs in a design, how to configure it for maximum effect, how to adapt it for different contexts — that's real expertise worth developing. The fact that you don't have to write the GLSL from scratch doesn't make those decisions less valuable. It makes them more accessible to people who have them.
Build Your Own Version: The Approach I'd Recommend
If you want a version of this skill in your own Claude Code setup, here's the approach I'd take now — not the approach I actually took, which wasted time.
Don't start by prompting from scratch. Find the best existing Three.js shader effect implementation you can — something that actually works in production, handles edge cases properly, and has been tested on real devices. Use that as the foundation example in your skill's knowledge base.
A skill is only as good as its examples. One excellent, production-tested shader implementation teaches the skill more than five tutorial snippets that cut corners.
Build incrementally:
- Start with one shader type applied to one project structure
- Test it on 3–4 real projects (not demos with clean HTML)
- Document every case where the output needs manual correction — those become your improvement examples
- Add the next shader type
- Repeat
Add failure mode handling early. Tell the skill explicitly what to do when Three.js isn't available, when the selector finds nothing, when WebGL isn't supported, when the target element is inside a scroll container. Skills that degrade gracefully are the ones you actually trust.
If you get one shader type generating correctly and handling failures across three different project structures, you've already built something more practically useful than most examples in this space. Everything after that is iteration.
The gallery page that shipped last week — chromatic aberration running on hover, RGB channels splitting and snapping back as the mouse crosses each image — looked like the kind of work I used to write off as "for someone else to build."
The gap between what you can imagine and what you can build closes when the tools change. Not because your technical limits disappear. Because the mechanical complexity that used to sit between the idea and the outcome gets handled by something that's actually good at mechanical complexity.
Your challenge for the next 48 hours: identify one visual effect you've admired on other sites and always written off as too complex to implement. Build a first version of a skill around it. Even a rough one. Test it on a real project and document where it fails.
The effect you thought required six hours and specialized expertise might be four minutes away.
Whether AI Shaders Fit Your Work
Building Three.js shader effects with AI in four minutes collapses a specialist skill into a prompt. For premium web visuals, that changes what a solo builder can attempt. My 3D scroll animations and interactive reveal build go deeper.
If you want premium web visuals built for your brand, that's something I do through Ramlit.