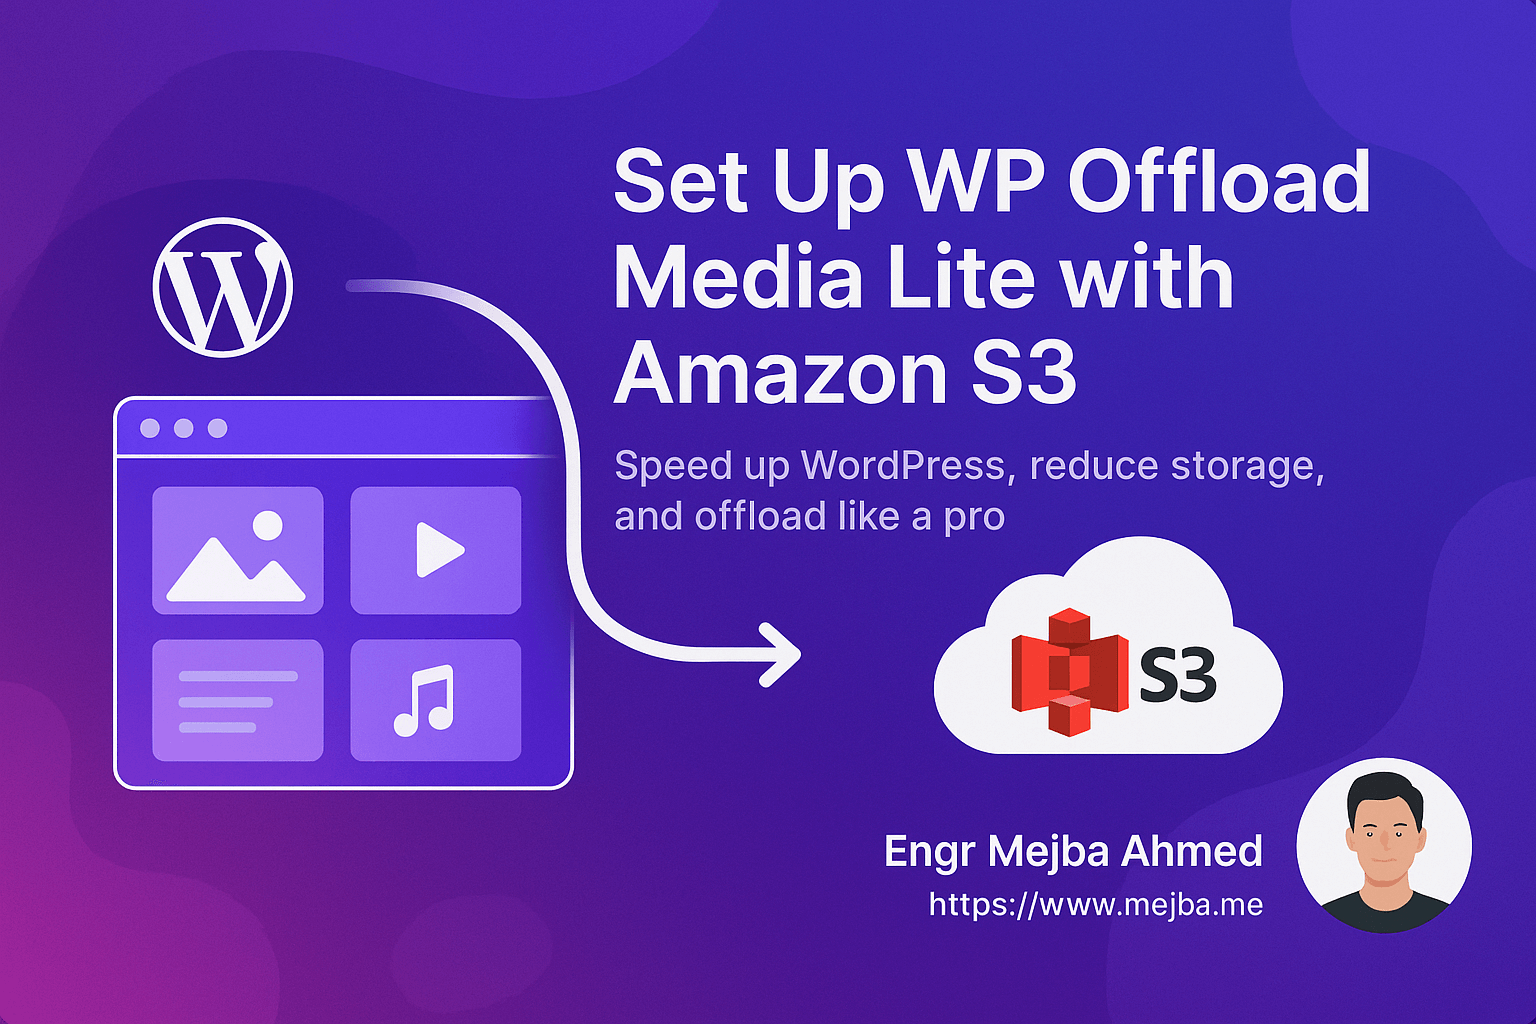
🚀 How to Set Up WP Offload Media Lite with Amazon S3 (Step-by-Step WordPress Guide)
If you're running a WordPress website and struggling with media storage or site speed, this guide is for you. Offloading your media files to Amazon S3 with WP Offload Media Lite can dramatically reduce server load, improve performance, and scale your storage cost-effectively.
In this post, I’ll show you how to professionally set up WP Offload Media Lite with Amazon S3 — step by step — using best practices for security, scalability, and WordPress performance.
✅ Benefits of Offloading Media to S3
- 🔄 Reduces local server storage usage
- 🚀 Boosts site loading speed (especially on shared hosting)
- ☁️ Uses secure, scalable AWS S3 infrastructure
- 🎯 Prepares your site for global delivery via CloudFront (optional)
🧰 Prerequisites
Before you begin, make sure you have:
- An AWS account with access to S3
- IAM user credentials with S3 permissions
- A WordPress website with admin access
- WP Offload Media Lite plugin installed and activated
🔐 Step 1: Create IAM User and Access Keys
- Go to IAM Console > Users > Add User
- Choose:
- Programmatic access ✅
- Attach policies directly → Select:
AmazonS3FullAccess(for testing) or a custom restricted policy.
- After creation, copy the Access Key ID and Secret Access Key
- Important: Save these securely — they won’t be shown again!
📦 Step 2: Create and Configure an S3 Bucket
- Navigate to S3 Console > Create Bucket
- Choose a unique bucket name (e.g.,
your-media-bucket) - Region: Choose one closest to your audience
- For testing: Disable Block All Public Access
- Click Create bucket
👉 Tip: Use a naming convention like yourbrand-media-bucket for future clarity.
🛡️ Step 3: Set Bucket Permissions (Bucket Policy)
Click into your bucket → Permissions → Bucket Policy
Paste this sample public read policy (adjust for production):
{
  "Version": "2012-10-17",
  "Statement": [
    {
      "Sid": "PublicReadGetObject",
      "Effect": "Allow",
      "Principal": "*",
      "Action": "s3:GetObject",
      "Resource": "arn:aws:s3:::your-media-bucket/wp-content/uploads/*"
    }
  ]
}
⚠️ Don’t expose full bucket if you're not serving public assets. Use CloudFront or signed URLs for production.
🔧 Step 4: Install & Configure WP Offload Media Lite
- Go to your WordPress Admin Panel → Plugins → Add New
- Search for "WP Offload Media Lite" → Install and Activate
- Go to Settings > Offload Media
- Choose Amazon S3 as your storage provider
- Enter your AWS Access Key and Secret Key
- Select your S3 Bucket and configure the following:
- ✅ Offload New Media
- 🔄 Optional: Remove local media after upload (use with caution)
- 📁 Add prefix:
wp-content/uploads/ - 📅 Add year/month path structure
- 🔖 Add versioning for cache-busting
🖥️ Step 5: Verify Your Setup
- Upload a new image in Media Library
- Go to the S3 Bucket and confirm the image appears there
- Right-click the image → Copy S3 URL
- Open it in a browser — the image should load
🧪 Bonus: Useful Sudo Commands for Server Setup
If you're managing the server yourself:
# Install unzip and AWS CLI (Ubuntu/Debian)
sudo apt update && sudo apt install unzip awscli -y

# Configure AWS CLI (optional, for debugging)
aws configure

# List buckets to test access
aws s3 ls

# Sync uploads folder to S3 manually (advanced use)
aws s3 sync /var/www/html/wp-content/uploads s3://your-media-bucket/wp-content/uploads --acl public-read
🛠️ Troubleshooting Tips
- Access Denied? ➝ Check bucket policy or IAM permissions
- Media not appearing in S3? ➝ Check plugin settings & AWS credentials
- URL returns XML AccessDenied? ➝ Ensure correct ACL and bucket policy
✅ Final Thoughts
Using WP Offload Media Lite with Amazon S3 is one of the most effective ways to offload storage, improve WordPress speed, and reduce server stress — especially if your site hosts lots of images, videos, or downloadable content.
For advanced performance, you can later connect CloudFront to serve images via CDN.
🔗 Example File URL (Live):
💼 Need help setting this up for your own site or client?
I offer professional setup & optimization — feel free to reach out!

