

The pod had been running for eleven days when I deleted it on purpose. Six seconds later a replacement was up with the same spec, and the Argo CD dashboard never showed anything but green. I did not run kubectl apply. I did not trigger a pipeline. Git said the pod should exist, so it existed again.
That test, run on my own laptop against Docker Desktop's built-in Kubernetes, is when GitOps stopped being a concept from conference talks and became something I could feel. Here is my honest claim after doing the setup: Argo CD on a local cluster takes about ten minutes, one of those minutes involves a gotcha no quick-start mentions, and the patterns you build locally are the same ones you ship to production unchanged. I tested it with a real workload, my InfraWhisper platform, a data-and-AI system with an API server, AI engine, stream processor, collector, and a real-time dashboard, which made it a genuine stress test rather than a nginx-hello-world demo.
Why I stopped deploying to my cluster by hand
My old local workflow was kubectl apply, forget the image tag, edit, apply again, wonder why old pods linger, delete and reapply. If you have run Kubernetes locally you know the loop. The problem is not that kubectl apply is broken; it is that you are the pipeline, and humans are unreliable pipelines.
The deeper problem is drift. You apply a manifest, then a quick kubectl edit happens at 2 AM, and now the cluster silently disagrees with the repo. When something breaks, nobody knows whether the truth lives in Git, in the cluster, or in someone's shell history.
GitOps makes one rule non-negotiable: Git is the truth, and the cluster converges to match it. Argo CD is the controller that enforces the rule through a continuous loop: observe the repo, diff desired state against live state, and reconcile the difference, either alerting you or fixing it automatically.
I run push-based pipelines for my web projects, like the GitHub Actions deploy that ships my Laravel site, and the contrast is instructive: a push pipeline executes a deploy when you push; a GitOps controller enforces a state forever. For a multi-service Kubernetes app, the second model is the one that scales.
The setup, start to finish
Prerequisites
Two things:
- Docker Desktop with Kubernetes enabled (Settings → Kubernetes → Enable). I run this on macOS; the steps are identical elsewhere. If you use OrbStack's Kubernetes instead, everything below works the same way.
- kubectl pointing at the local cluster:
kubectl config current-context
# must say: docker-desktop
Verify that context line. You do not want to discover mid-tutorial that you installed Argo CD onto a client's staging cluster. Ask me why that check is in bold in my own notes.
Step 1: install Argo CD
kubectl create namespace argocd

kubectl apply -n argocd -f \
  https://raw.githubusercontent.com/argoproj/argo-cd/stable/manifests/install.yaml
The stable manifest installs the full control plane into the argocd namespace: the API server and web UI, the repo server that clones and renders your manifests, the application controller that does the reconciling, plus Redis and Dex. Watch the pods come up; it takes a minute or two:
kubectl get pods -n argocd -w
Step 2: the Docker Desktop gotcha
This is the step that cost me twenty minutes and is the reason this post exists. After installation, port-forwarding to the UI simply did not work. Pods running, service present, connection refused anyway.
The cause: Argo CD ships NetworkPolicy resources that restrict traffic between its components. On a cluster whose CNI properly enforces them (Calico, Cilium), they are correct and desirable. On Docker Desktop's built-in networking they interfere with connectivity in subtle ways instead. The fix:
kubectl delete networkpolicies --all -n argocd
One command, local clusters only. On a real cluster with a policy-enforcing CNI, keep the policies; they are protecting you there. I suspect this single issue quietly kills more local Argo CD attempts than anything else, because nothing about "connection refused" points at NetworkPolicies.
Step 3: reach the dashboard and log in
kubectl port-forward svc/argocd-server -n argocd 8443:443
Browse to https://localhost:8443, accept the self-signed-certificate warning, and log in as admin with the auto-generated initial password:
kubectl -n argocd get secret argocd-initial-admin-secret \
  -o jsonpath="{.data.password}" | base64 -d
Change it after first login (User Info → Update Password). Local machine or not, default credentials are a habit, and habits follow you to production.
Step 4: the Application manifest
The Application resource is the contract: what to watch, where to deploy, how to behave. Here is the shape I used for InfraWhisper, generalized:
apiVersion: argoproj.io/v1alpha1
kind: Application
metadata:
  name: my-app
  namespace: argocd
spec:
  project: default
  source:
    repoURL: https://github.com/your-user/your-repo.git
    targetRevision: main
    path: deploy/helm/my-app
    helm:
      valueFiles:
        - values.yaml
  destination:
    server: https://kubernetes.default.svc
    namespace: my-app
  syncPolicy:
    automated:
      prune: true
      selfHeal: true
    syncOptions:
      - CreateNamespace=true
The fields that deserve your attention:
destination.server: https://kubernetes.default.svcmeans "the cluster Argo CD itself runs in," which is always what you want locally.prune: true: resources you delete from Git get deleted from the cluster. Without it, removed manifests leave orphans behind forever.selfHeal: true: manual changes to the cluster get reverted to match Git. This is the switch that turns Argo CD from a deployer into an enforcer.- Helm is optional. Argo CD renders Helm, Kustomize, Jsonnet, or a plain directory of YAML. I used Helm because InfraWhisper's chart already existed; for raw manifests, point
pathat the directory and drop thehelmblock.
Apply it, then watch the dashboard:
kubectl apply -f application.yaml
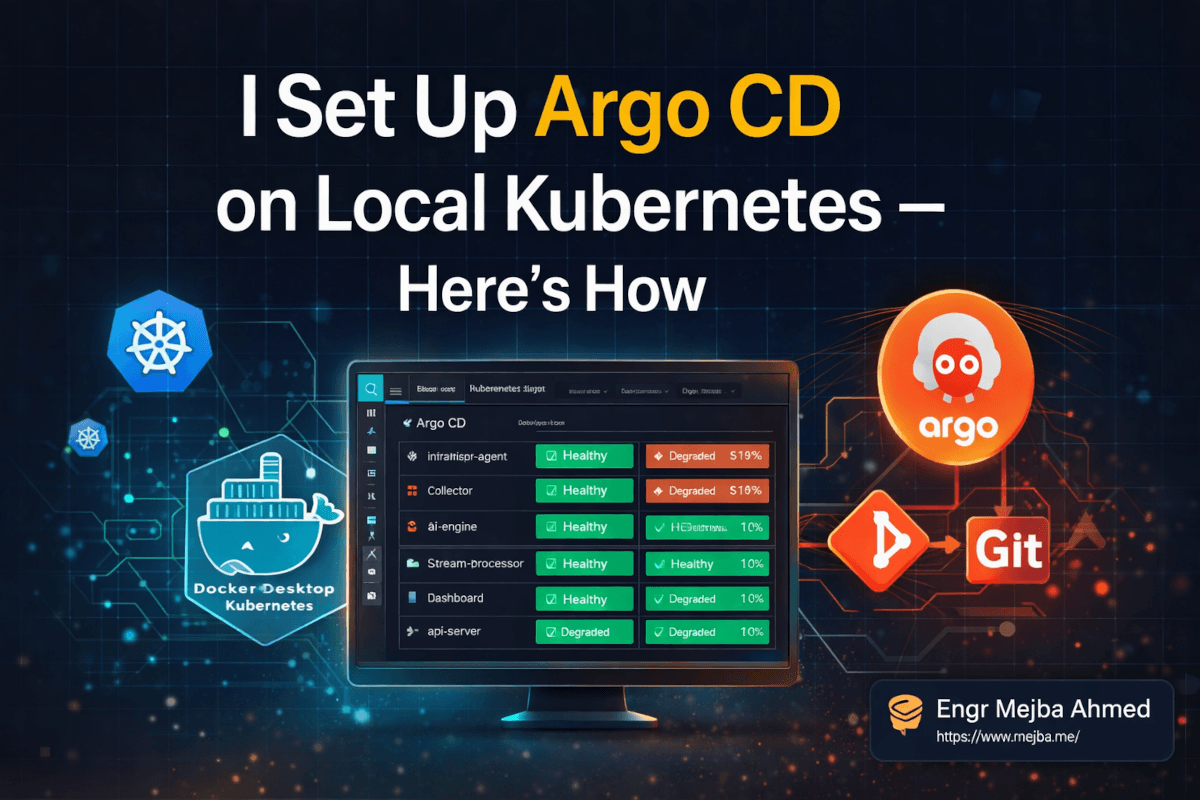
Within seconds the application topology renders: for my stack that meant the API server's three replicas, the dashboard's two, the AI engine, stream processor, collector, and ingress, every component and its health in one view, with the triggering commit hash displayed. Docker Desktop's container list told the same story from below: 38 containers, Argo CD's control plane sitting alongside Kafka, ClickHouse, Postgres, and Redis. A full platform, driven entirely by a Git repo.
The three tests that prove it is real
Installing a tool is not the same as believing it. I ran three deliberate tests.
Self-healing. I deleted that eleven-day-old dashboard pod by hand. A replacement was running six seconds later. Kubernetes' ReplicaSet controller does the immediate resurrection, but Argo CD's reconciliation is what guarantees the deployment itself can never quietly diverge from the repo definition.
Drift correction. I manually scaled a deployment from three replicas to one, exactly the "quick production fix" that causes real incidents. For a few seconds the app showed Degraded, then the controller compared live state against Git and scaled it back to three. No intervention, and the drift event sits in the sync history as an audit trail. kubectl apply will never give you that.
Auto-sync. I bumped a replica count in values.yaml, committed, pushed, and watched with the dashboard and kubectl get pods -w side by side. Within roughly fifteen to twenty seconds of the push, the new pod was starting and the UI showed my commit message. Push code, cluster changes, nothing in between.
What I wish someone had told me first
An honest ledger after living with it:
- The dashboard alone justifies the install. Topology, health, sync history, one-click rollback to any previous commit. For a dozen-component app it replaced my ritual of four chained kubectl commands.
- The overhead is not nothing. The control plane added roughly half a gigabyte of RAM on my machine, on top of an already heavy stack. Modern laptop, fine; 8GB machine, you will feel it.
- Private repos need credentials configured (SSH key, token, or GitHub App) in Argo CD's settings before your Application will sync. The two-command install skips this, and it will interrupt your flow at the worst moment. Do it first.
- Install the CLI (
brew install argocd) on day one. The UI is for understanding; the CLI is for operating. - Start with ApplicationSets if you know multiple environments are coming. One templated definition generating per-environment Applications beats migrating later.
Local is not practice. It is stage one
The strongest argument for this whole exercise: the Application manifest above does not change when it graduates. Moving from my laptop to a staging cluster changes the destination.server URL and a values file. The sync policy, the chart, the workflow, the habits all transfer untouched. You are not simulating a production workflow locally; you are running the first environment of it. That is also why I would do this before touching managed GitOps offerings: ten minutes on the cluster you already have, as I covered in running Kubernetes on a Mac with OrbStack, teaches you the model with zero stakes. And if your delivery story currently ends at a push-based pipeline like CodeDeploy on EC2, this is the natural next rung.
The checklist, compressed:
kubectl config current-context                # docker-desktop
kubectl create namespace argocd
kubectl apply -n argocd -f https://raw.githubusercontent.com/argoproj/argo-cd/stable/manifests/install.yaml
kubectl get pods -n argocd -w                 # wait for Running
kubectl delete networkpolicies --all -n argocd   # Docker Desktop only
kubectl port-forward svc/argocd-server -n argocd 8443:443
kubectl -n argocd get secret argocd-initial-admin-secret -o jsonpath="{.data.password}" | base64 -d
kubectl apply -f application.yaml
Eight commands. Then delete a pod on purpose and watch your repo bring it back. That six-second resurrection will teach you more about GitOps than everything you have read on it, this post included.
InfraWhisper, the platform I stress-tested this against, runs the same sync policy across a multi-service stack; it sits with the rest of my infrastructure builds on my projects page. That is the next rung after the local cluster — same manifests, more services, real traffic.